...
When Support Technicians add a satellite, the Diag WiFi SSID and Diag WiFi PSK fields will be displayed and automatically populated. Do not edit these fields unless instructed to do so by a superior.
When editing a satellite, a request for the latest firmware may be initiated using the
 button, located below at the bottom of the satellite configuration section.
A banner will be displayed informing the technician of the date and time of the update request.
This requires the initial The satellite firmware to be 1.14.22 or later.
...
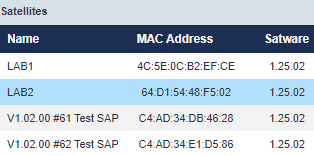
should always be set to the latest Satware available.
...
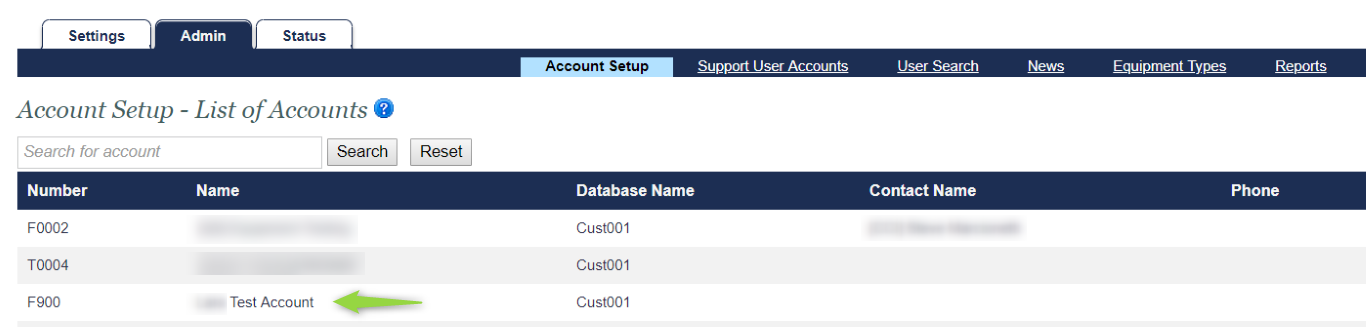
To add a satellite to a new or existing location, follow the instructions below.
| Info |
|---|
The "Notes" text box in the satellite setup is primarily for use by Support Technicians and is not required for satellite setup. |
Log into the FasCard Admin site. If you have multiple accounts, select the account that has the site listed which needs the satellite added.
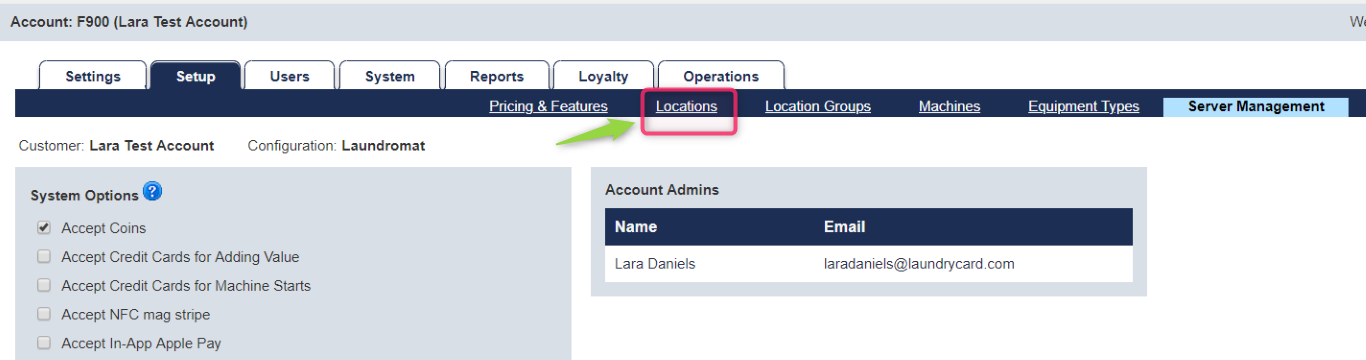
Select a location or add a new location as described in Location Setup.
...
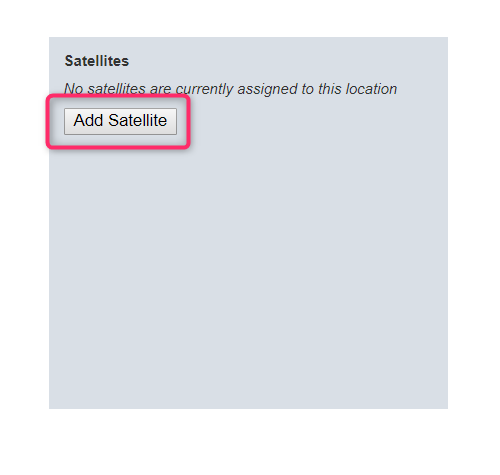
In the Satellites section, click Add Satellite.
...
In the Name field - enter a unique satellite name.
...
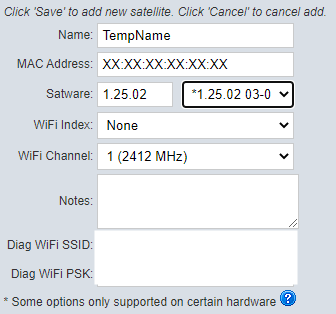
In the MAC Address field - enter the unique MAC address associated with the first Ethernet port (E01) on the satellite.
In the WiFi Index field - Select what index number you would want to assign to that specific satellite to have readers hold affinity to its connection first
(Note: WiFi Index and WiFi Affinity only apply to Satellites with the latest firmware update and FasCard readers with the latest WiFi Affinity-capable firmware update.)
In the Wifi Channel field - Select a preferred Wifi channel or leave as default.
Click Save at the bottom-left area of the entire page.
'Satellite information added' message should appear to indicate success.
Update Satellite to Most Recent Firmware
NOTE: This process can take up to 30 minutes and the Satellite should not be power cycled or powered off at any time. If the location has a single satellite, the readers will go offline briefly during the update
Navigate to the Locations page under the Setup tab.
Select the appropriate location.
In the Satellites section, click on the appropriate satellite (It will turn blue when selected)
Click on the Satware drop down menu and select the most recent version.
Click save at the bottom of the page.
Click the System tab at the top of the screen.
The satellite should show the version that it is going to update to in brackets next to the current version. Example: (2.02.03)
When the satellite refreshes with the new version in the primary location the update is complete.
Repeat these steps for all remaining satellites.
Delete a Satellite
Navigate to the Locations page under the Setup tab.
Select the appropriate location.
In the Satellites section, click on the appropriate satellite (It will turn blue when selected)
Once the satellite box expands, click on Delete Satellite.
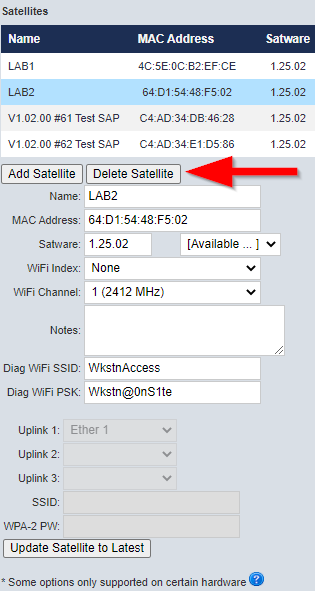
Click OK to confirm deletion or click Cancel.
Additional Information
...