How-to create a VPN connection in Windows 8.1
Table of Contents
Purpose
This guide will show you how to setup your VPN for WIndows 8.1
Create the VPN
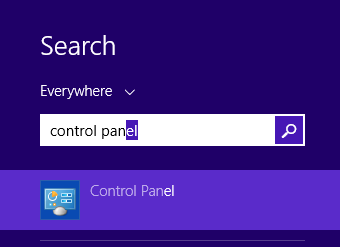
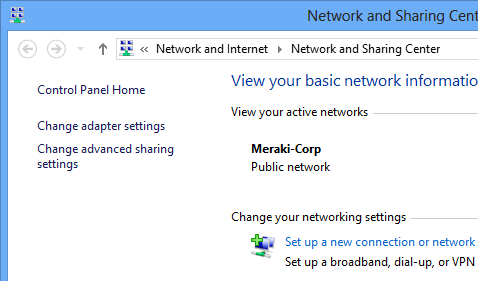
- Go to Control Panel. In Tiles/Start view typing activates the search facility. Type 'control panel'
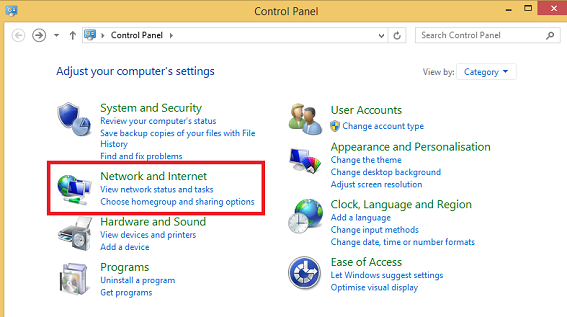
- Select Network and Internet.
- Select Set up a new connection or network

- Select Connect to a workplace
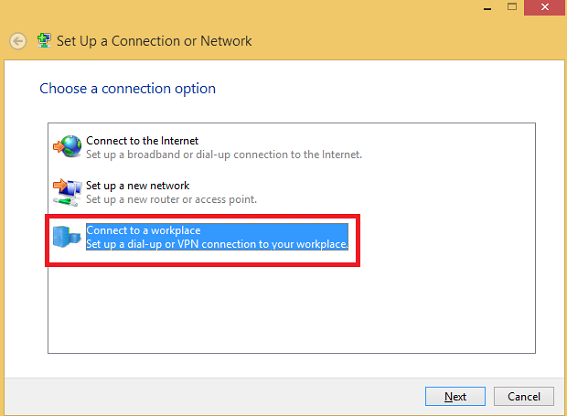
- Select Next
Select Use my Internet Connection (VPN)
Create a new connection.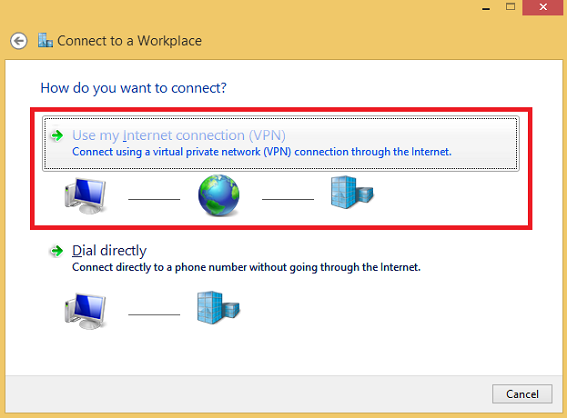
In the Connect to a Workplace dialog box, enter:
- Internet address: Enter the public IP address for the store location (Contact CCI support or your Internet provider if you do not know your IP address).
- Destination name: Optionally enter a name for the VPN connection.
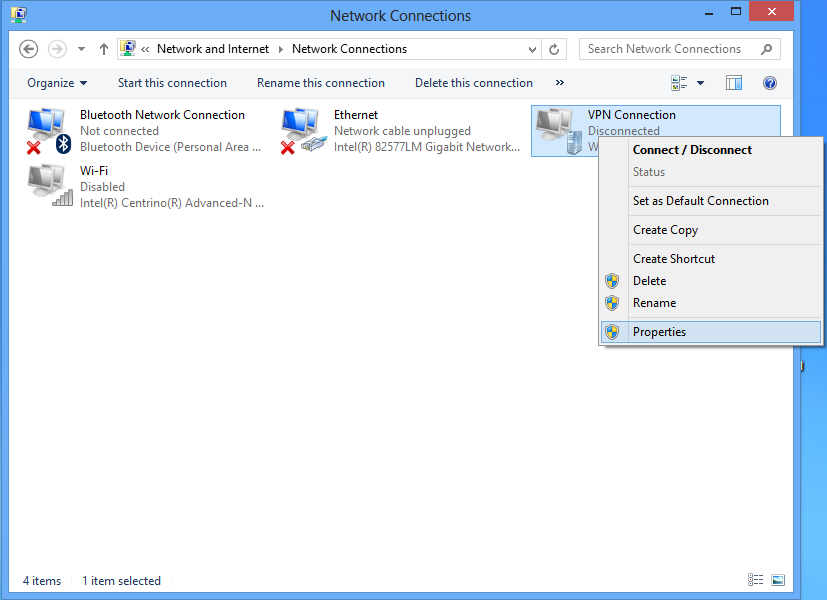
Click Create.- Go back to Network and Sharing Center and click Change Adapter Settings.
- In the Networks Connections window, right-click on the VPN connection icon and choose Properties.
- In the Security tab set the following options:
- Type of VPN: Point to Point Tunneling Protocol (PPTP)
- Data encryption: Optional encryption (connect even if no encryption)
- Authentication: Allow these protocols
- Unencrypted password (PAP):

- Challenge Handshake Authentication Protocol (CHAP):
- Microsoft CHAP Version 2 (MS-CHAP v2):
- Unencrypted password (PAP):
- Click the Networking tab. Double-click Internet Protocol Version 4 (TCP/IPv4) and click the Advanced... button.
- Clear the Use Default Gateway checkbox.
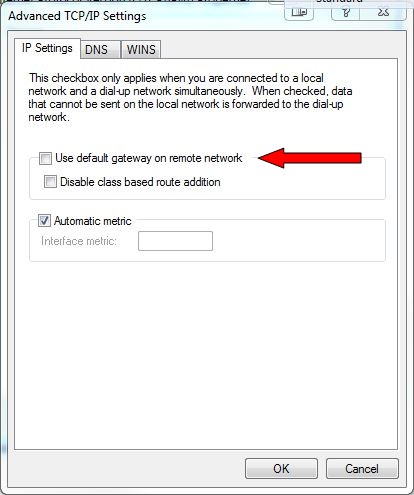
- Click OK to close the Advanced TCP/IP Settings window.
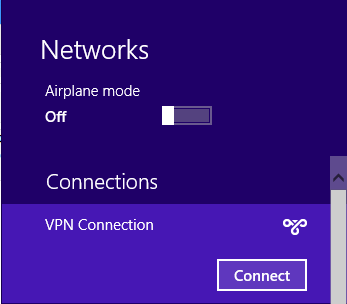
- In the Network Connections window double-click on the vpn connection.
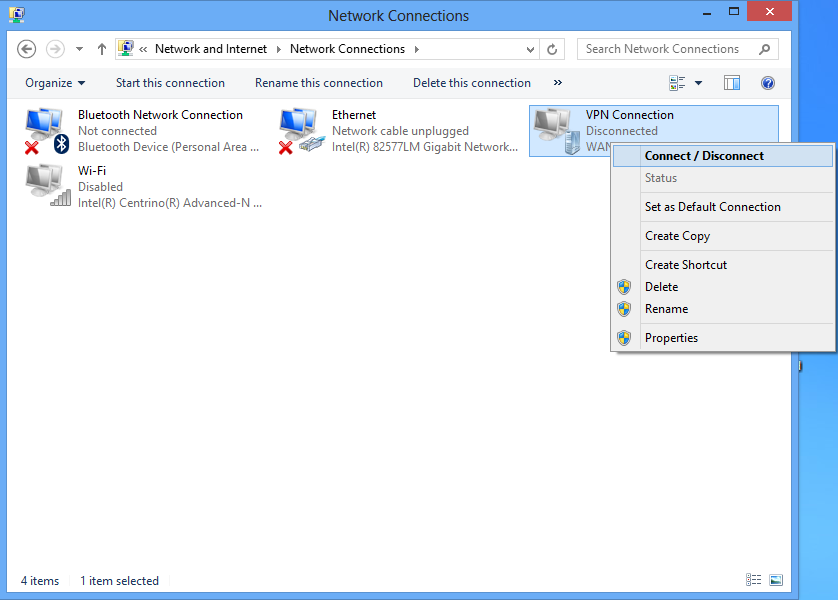
- Select the vpn connection and click Connect.
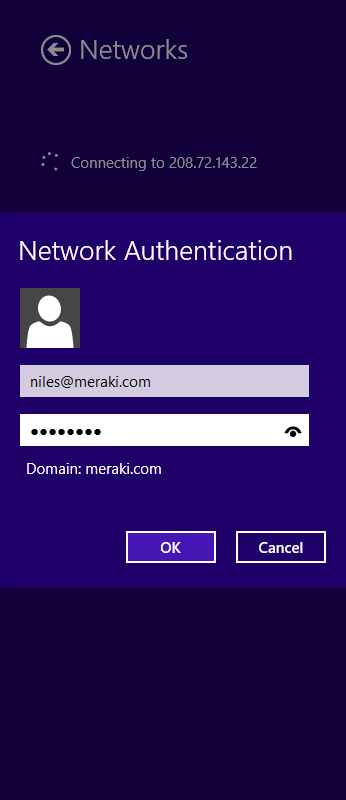
- Enter your user name and password then click OK.
Related articles