| Panel | ||
|---|---|---|
| ||
This is a step-by-step guide on how to issue a refund using the Authorize.Net virtual terminal. |
| Warning |
|---|
Before issuing a refund for the first time, please contact Authorize.Net (877-447-3938)to ensure proper use of the Authorize.Net virtual terminal. |
...
- You will need login access to: https://login.authorize.net/.
- Store owners who have an account created for them, and are sent welcome emails where they can set up their account, should see the following in their inbox:
- Email Subject: Account Activation
- Email Subject: Welcome to Authorize.Net
- Ask your store owner to create access for you; if you are a store owner, check your email for the Authorize.Net 'Welcome Email" to setup your account.
- Store owners who have an account created for them, and are sent welcome emails where they can set up their account, should see the following in their inbox:
- Once logged in, you should see the following options on the homepage.
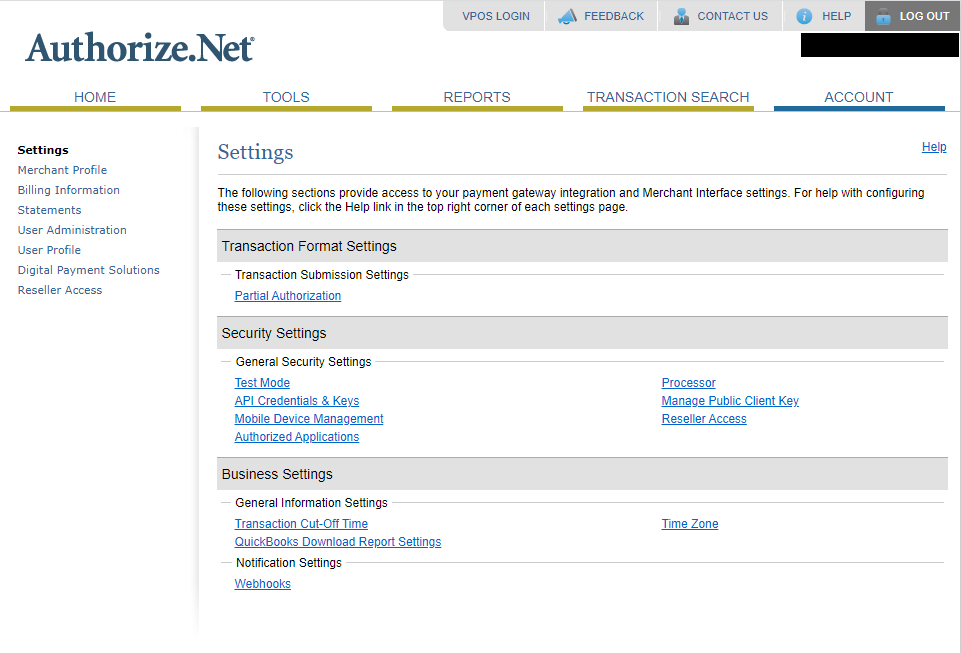
- At the top of the page, you'll select Tools.
- On the left-hand side, you'll then select Virtual Terminal.
- This option will then take you to the following page.
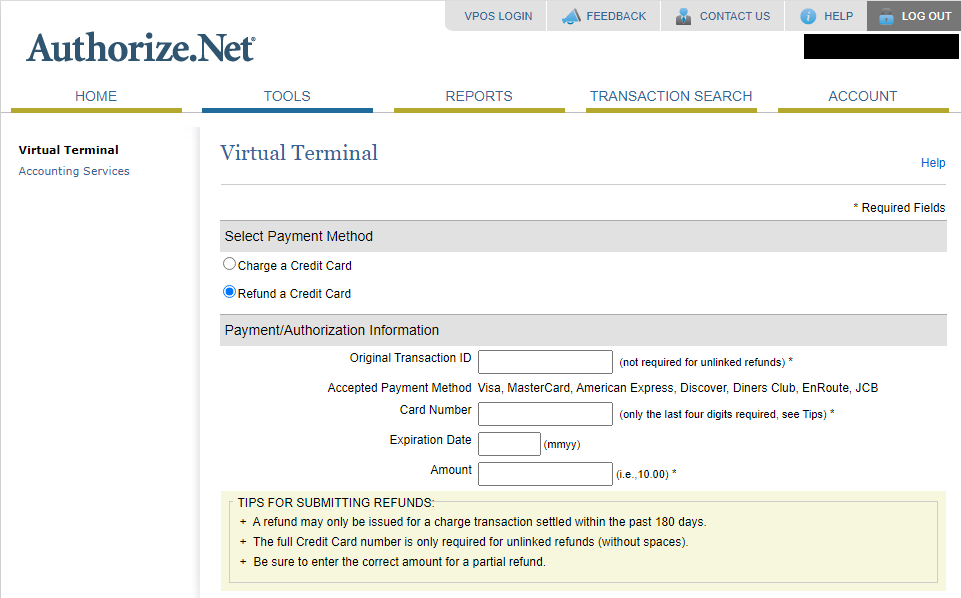
- Once there, you'll want to select the Refund a Credit Card option.
- Once selected, fill in the requested information, such as:
- Original transaction ID (which is obtainable from the Transaction Search option).
- Last four digits of the credit/debit card that is being refunded.
- Expiration The expiration date of the card.
- The amount that is to be refunded.
- Once you've entered in all the necessary fields, scroll down to the bottom of the page until you see the following.

- Then select Submit to process the refund.
- If you have any questions or concerns regarding the refund process, please contact Authorize.Net support at 877-447-3938.
...