The Features schedule is used to control machine availability as well as free dry awards and redemption, loyalty points multipliers, and discount availability. See below on how to add a feature schedule. This includes information on adding a default feature schedule as well as Time of Day features. | Tip |
|---|
Equipment that is scheduled to disallow machine starts will delay shutdown time by 5 minutes if customer payment activity is detected. |
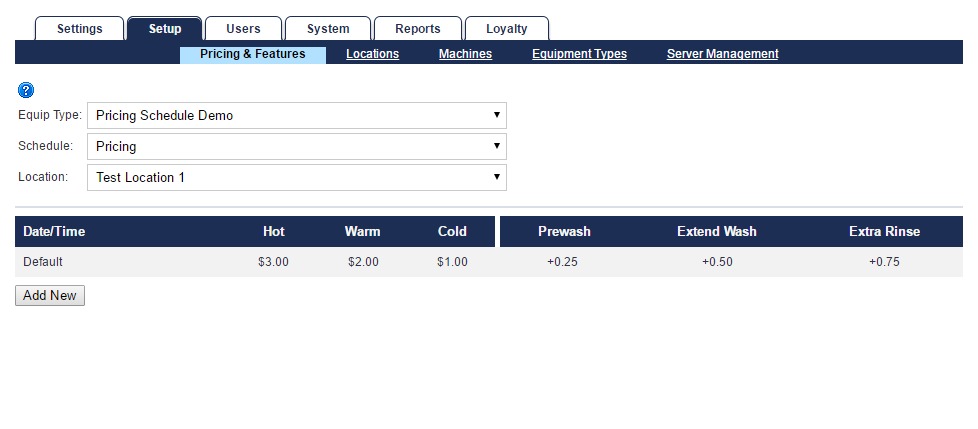
- Navigate to the FasCard Admin site and sign in with an Admin or Pricing account.
- Click the Setup tab.
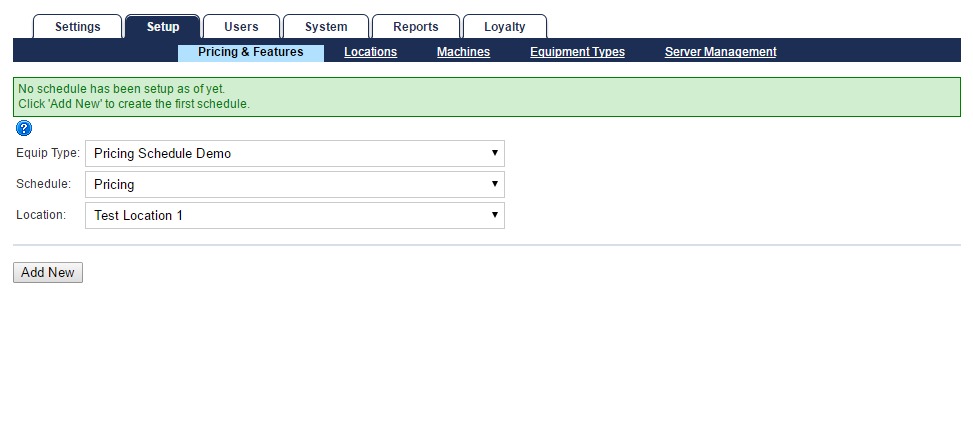
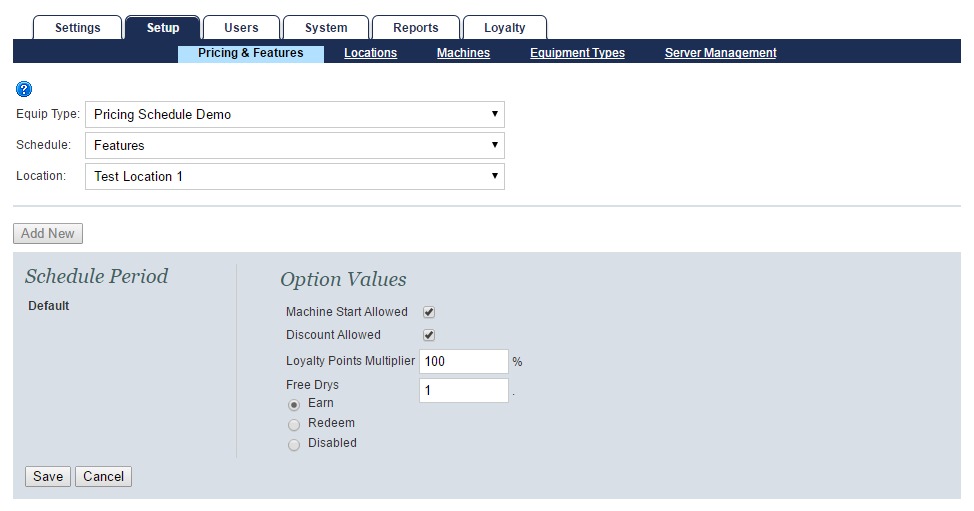
- Click the Pricing & Features link.
- Select the equipment type from the first dropdown menu.
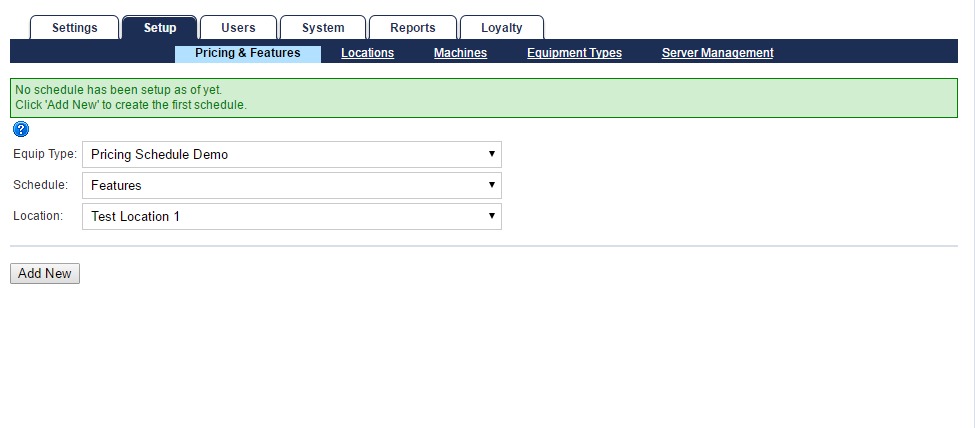
- Select Features from the second dropdown menu.
- Select the location or location group (if enabled) from the third dropdown menu.
- Click Add New.
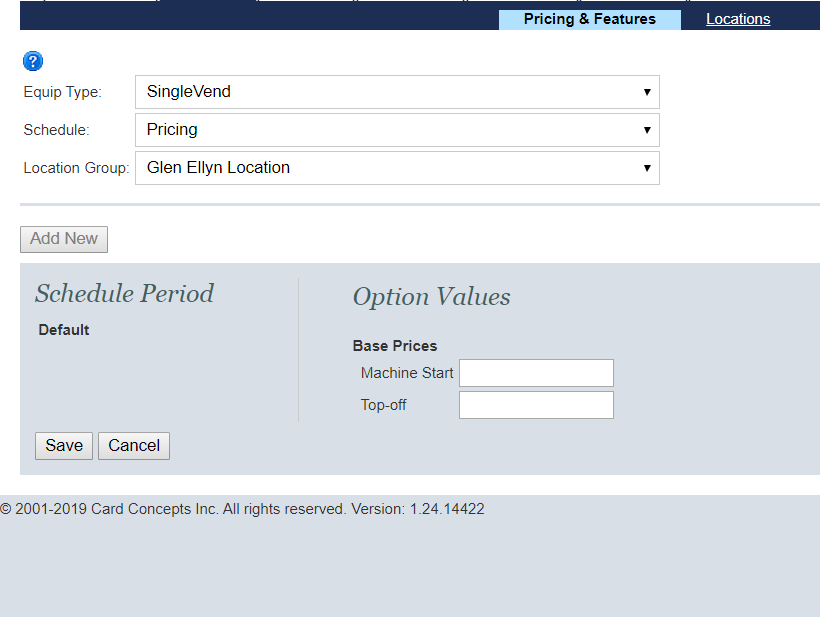
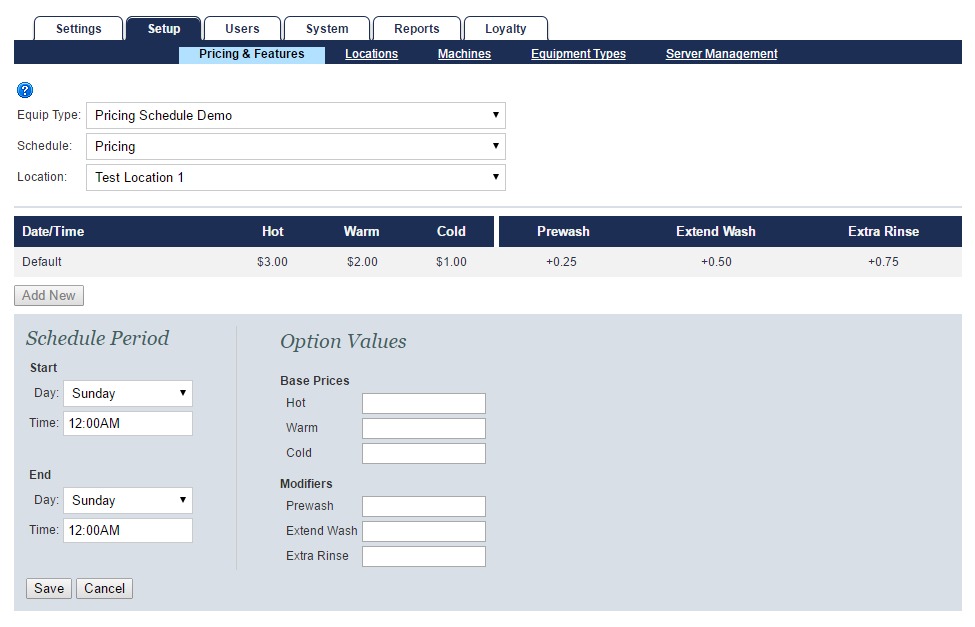
 - Machine Start Allowed - this should always be checked in the default schedule unless all machines of this type are out of service.
- Discount Allowed - this should be checked if user discounts are allowed on this machine.
- Loyalty Points Multiplier - this field indicates the rate of accrual for Loyalty Points. Normal point accrual is 100%, double accrual would be 200%, etc.
- Free Drys - this section indicates the number of free dry credits that are earned or used when the machine is activated by a Loyalty account.
- Generally washers are set to 'Earn' and dryers are set to 'Redeem'. Set this to 'Disabled' if free dry credits are neither earned or redeemed on the equipment type.
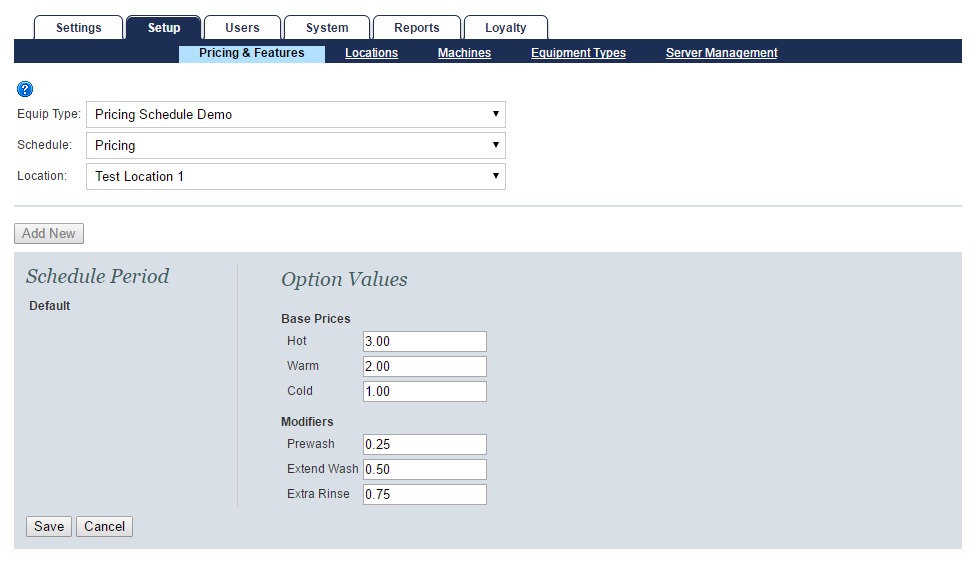
- Click Save to confirm schedule, or click Cancel.
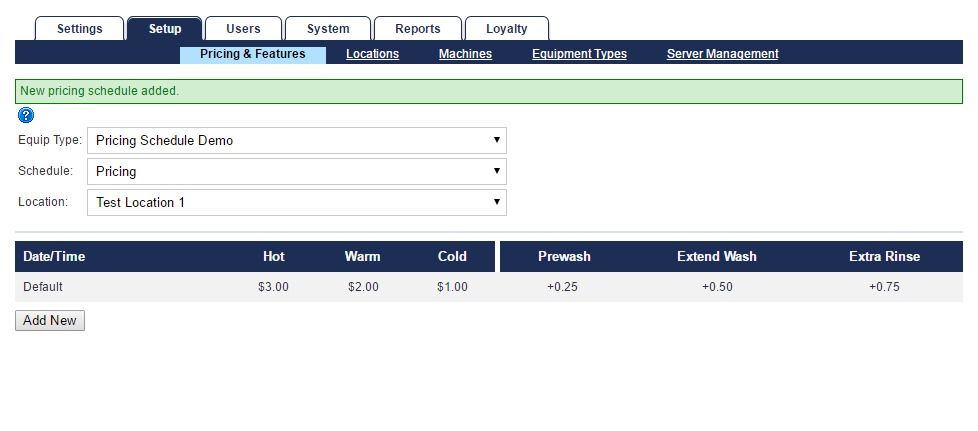
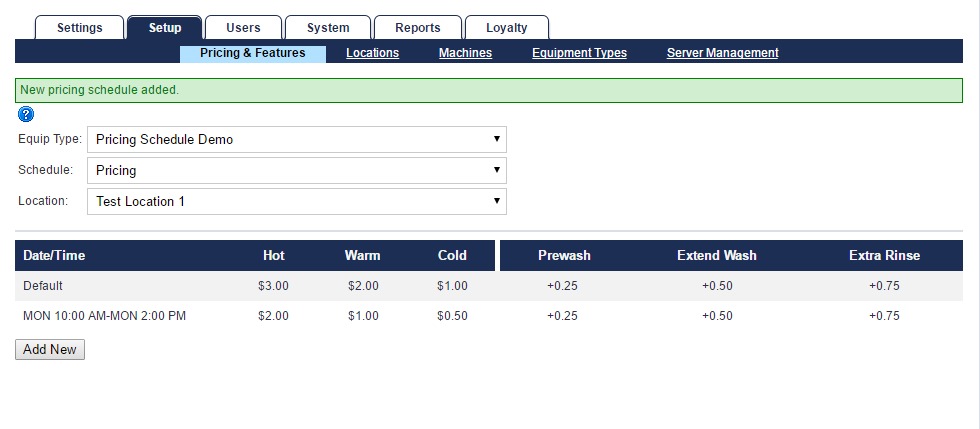
 - When schedule is saved, 'New pricing schedule added.' message is displayed indicating success.
- A features summary for the configured default schedule is displayed.
- All configured feature schedules for the equipment type will be displayed and summarized in the schedule list.

|