Overview
This page is intended to guide the user through proper utilization of the Work Schedule on the FasCard Admin site.
On this page
| Table of Contents | ||
|---|---|---|
|
Work Schedule Calendar
Work Schedule Calendar
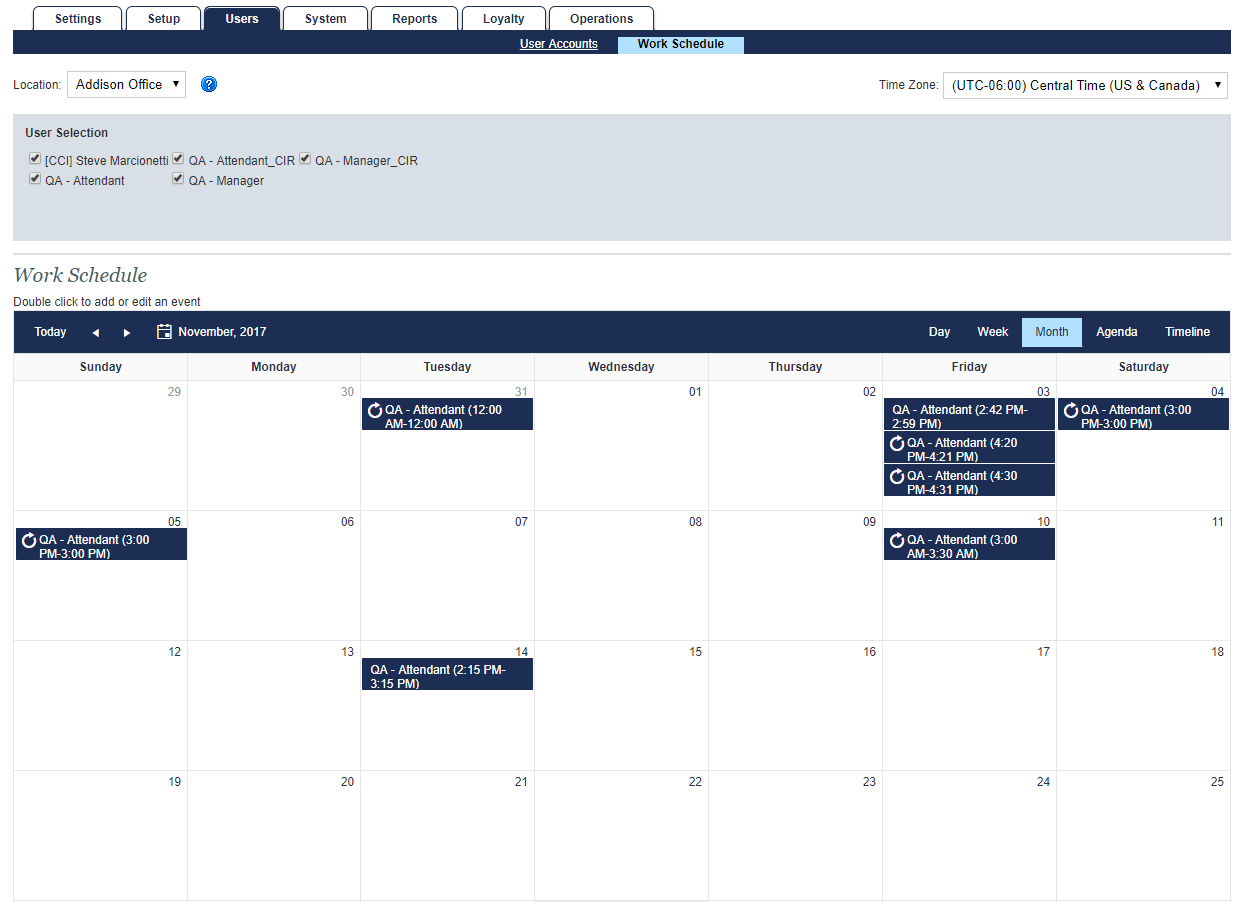
The Work Schedule is located under the Users tab and may be accessed and modified on the FasCard Admin site by any user with Admin or Work Schedule permissions. This page can be used to create, edit, and monitor one-time and ongoing employee work schedules.
Work Schedule Sections Explained
| borderColor | #416EB6 |
|---|---|
| titleColor | #E6E6E6 |
| titleBGColor | #416EB6 |
| title | Location Section |
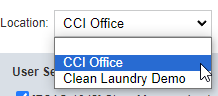
The "Location" selection dropdown menu allows the user to select the location at which the employee is scheduled.

| borderColor | #416EB6 |
|---|---|
| titleColor | #E6E6E6 |
| titleBGColor | #416EB6 |
| title | Time Zone Section |
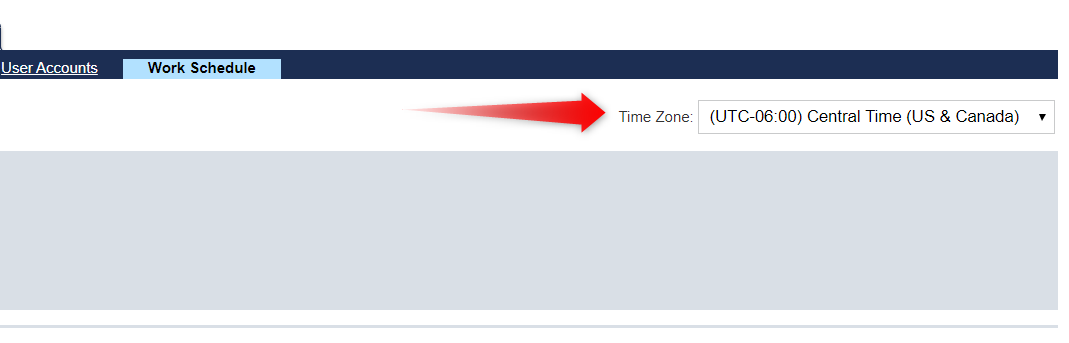
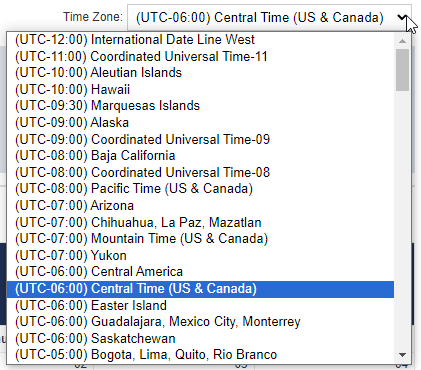
The "Time Zone" dropdown menu allows the user to create schedules in the timezone in which the location resides and view schedules in a different timezone when traveling.
| borderColor | #416EB6 |
|---|---|
| titleColor | #E6E6E6 |
| titleBGColor | #416EB6 |
| title | User Selection Section |
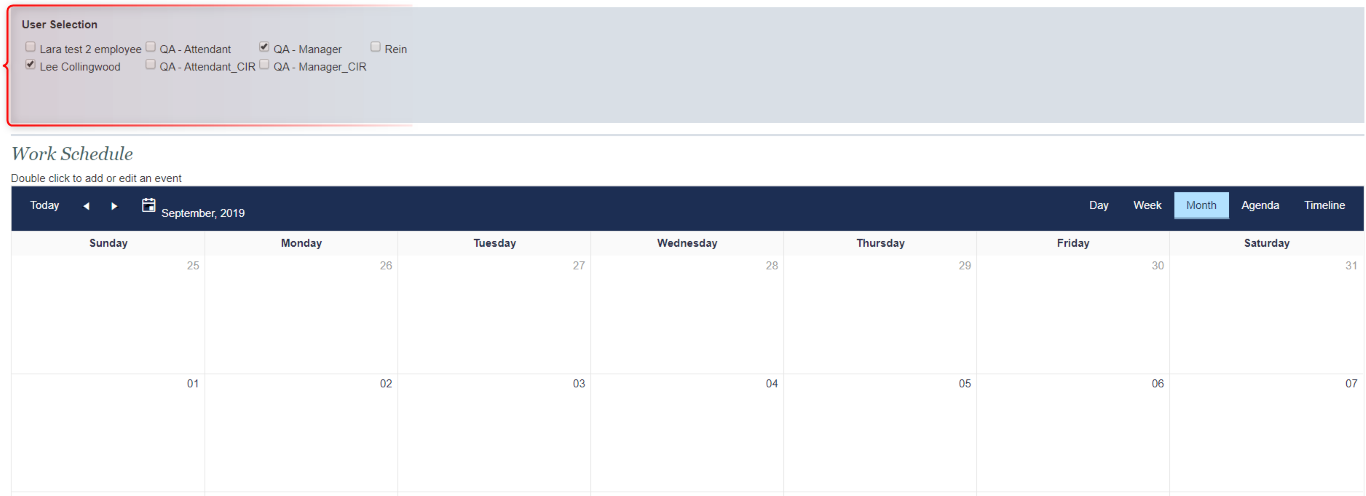
Marking a checkbox in the "User Selection" section will display scheduled shifts for the selected employee.

Configuring
User DetailsUser Details
An employee may only be added to the Work Schedule once the relevant user account is properly configured.
To configure a user account, login to the FasCard Admin site and navigate to the Users tab.
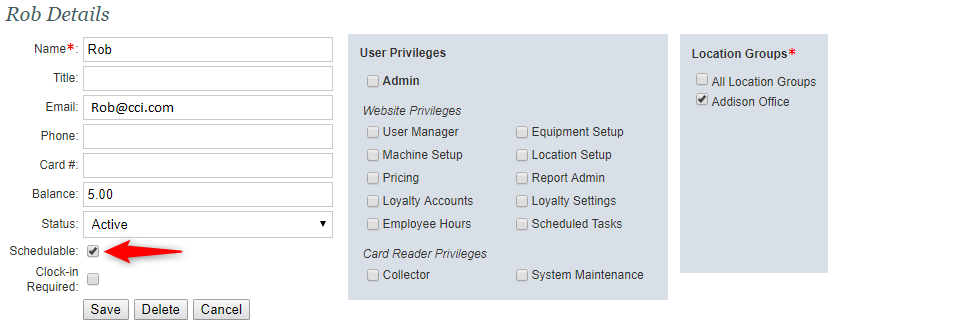
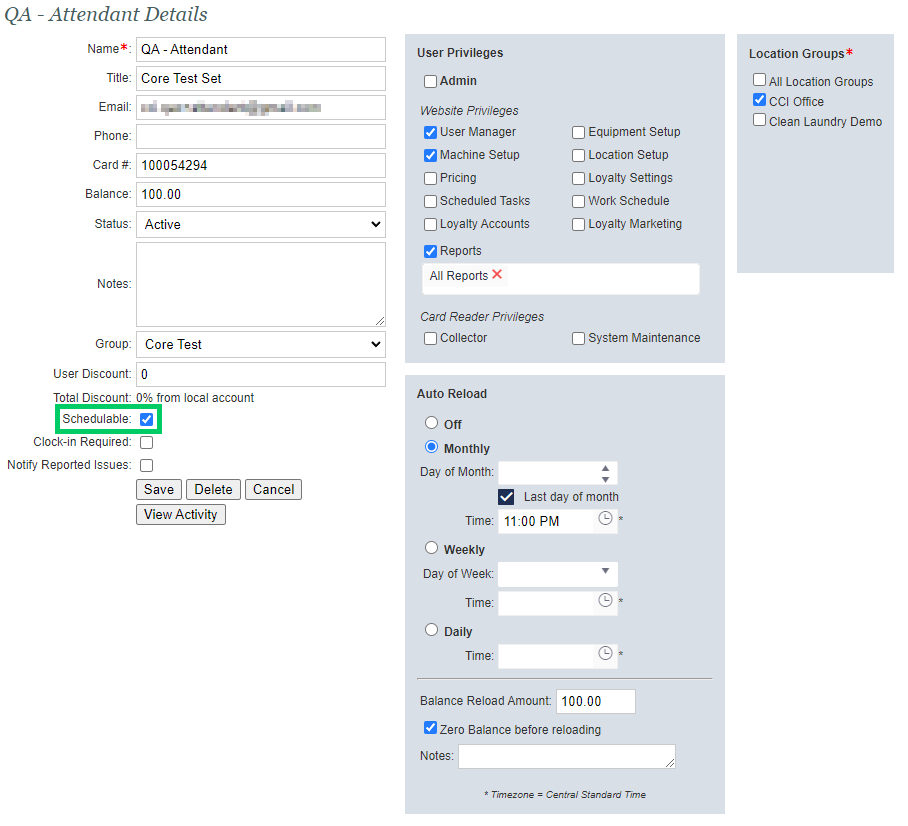
Select the appropriate user
Check the "Schedulable" checkbox. This will allow the configured user to be added to the Work Schedule (shown below).
Creating/Editing/Deleting Shifts to the Work Schedule
| borderColor | #416EB6 |
|---|---|
| titleColor | #E6E6E6 |
| titleBGColor | #416EB6 |
| title | Creating A Scheduled Shift |
Shifts may be scheduled by double-clicking on the appropriate start date in the calendar. This will create a popup window, as illustrated below.
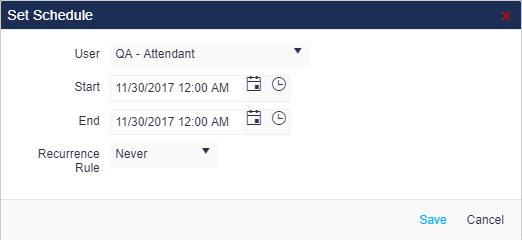 To configure an individual shift, select the user from the dropdown menu
Select a start and end time, and choose a recurrence rule.
For standalone shifts, leave the recurrence rule set to "Never"
click save.
This will add the shift to the chosen date or date range on the calendar.
Anchor shiftseries shiftseries


To configure a recurring shift, select the user from the dropdown menu, select a start and end time, and choose a recurrence rule. Recurring shifts may be scheduled to recur on a daily, weekly, monthly, or yearly basis. Finally, a parameter must be set to indicate the end of the recurrence by choosing "Never", "After 'X' occurrence(s)", or "On (scheduled date)". Due to certain software restrictions, "On (scheduled date)" is the only currently valid option.
Editing Scheduled Shifts
Scheduled shifts may not be edited after the scheduled date has elapsed.
Shifts may be edited by double-clicking on any existing task listed in the calendar.
In the case of a recurring task, this will created a popup window, as illustrated below.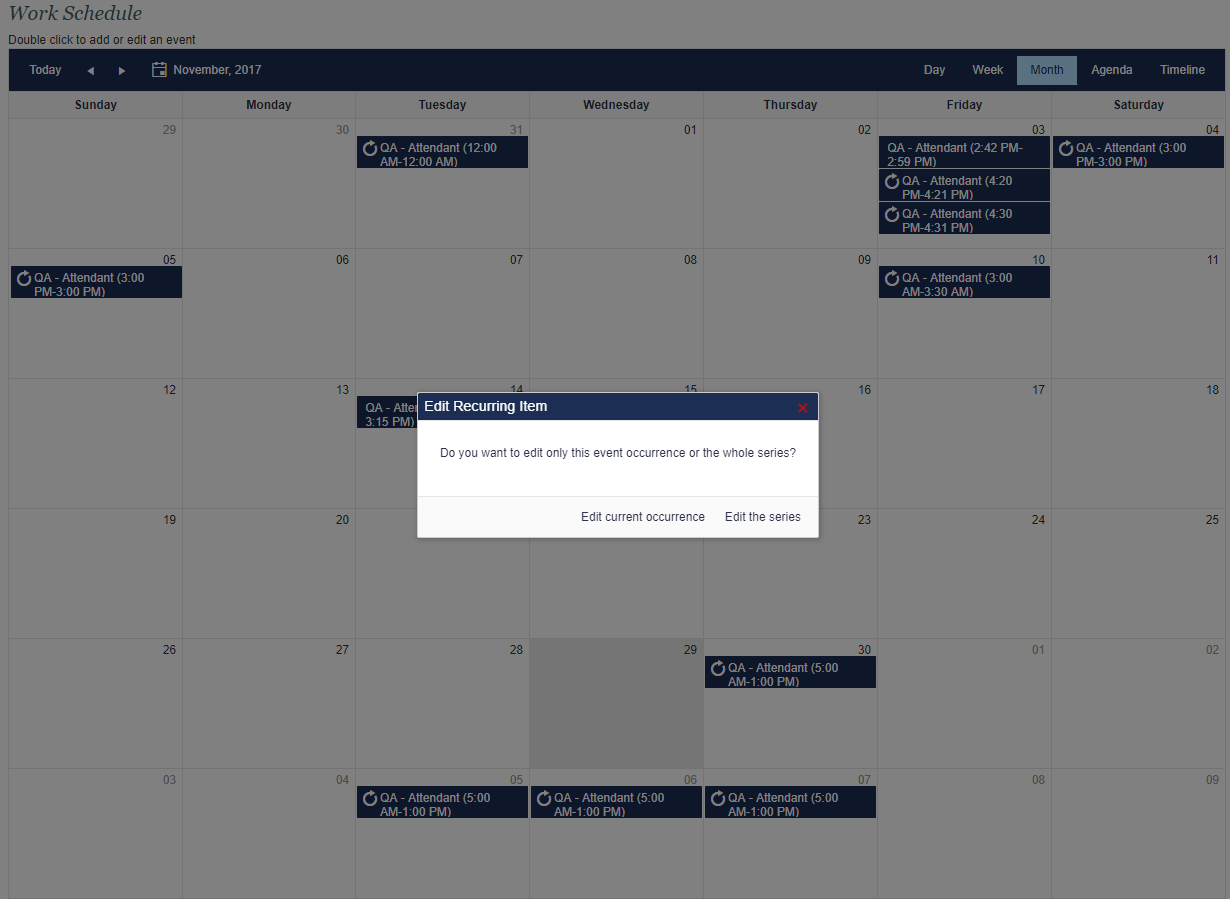
When attempting to edit the schedule, a confirmation popup will appear.
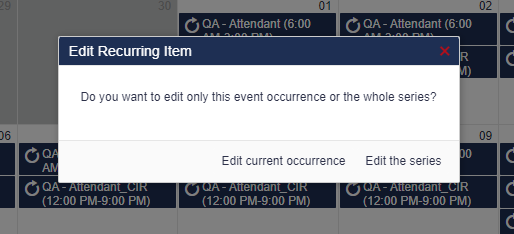
When editing a recurring shift, a selection must be made in the popup window to indicate if the entire series of recurring shifts will be edited or if a single shift in the series will be edited. Selecting
"edit“Edit the series" will bring up the recurring shift creation window. Selecting "
edit theEdit current occurrence" will bring up the simpler, single-occurrence window
, as shown below.
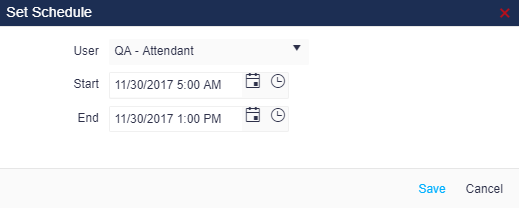
When editing is complete, click "Save" to add or modify an item on the calendar, or cancel to prevent any changes.
Deleting Scheduled Shifts
| Info |
|---|
Scheduled shifts may not be deleted after the scheduled date has elapsed. |
Shifts may be deleted by clicking the "X" that is revealed on each calendar item as the mouse-pointer hovers over it.

Once clicked, a popup window will be created. For single-occurrence items, this window will ask for confirmation or cancellation regarding the chosen deletion. Recurring items will create a popup that requires verification regarding the deletion of either the current occurrence or the entire series.
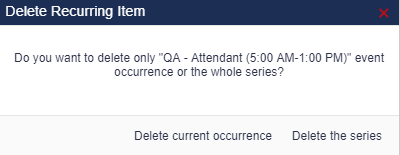

| Warning |
|---|
Clicking "Delete current occurrence" or "Delete the series" will immediately delete the chosen shift(s). No second confirmation will occur. To cancel this operation, click the "X" in the upper right hand corner of the "Delete Recurring Item" popup. |
Viewing the Work Schedule
panel| borderColor | #416EB6 |
|---|---|
| titleColor | #E6E6E6 |
| titleBGColor | #416EB6 |
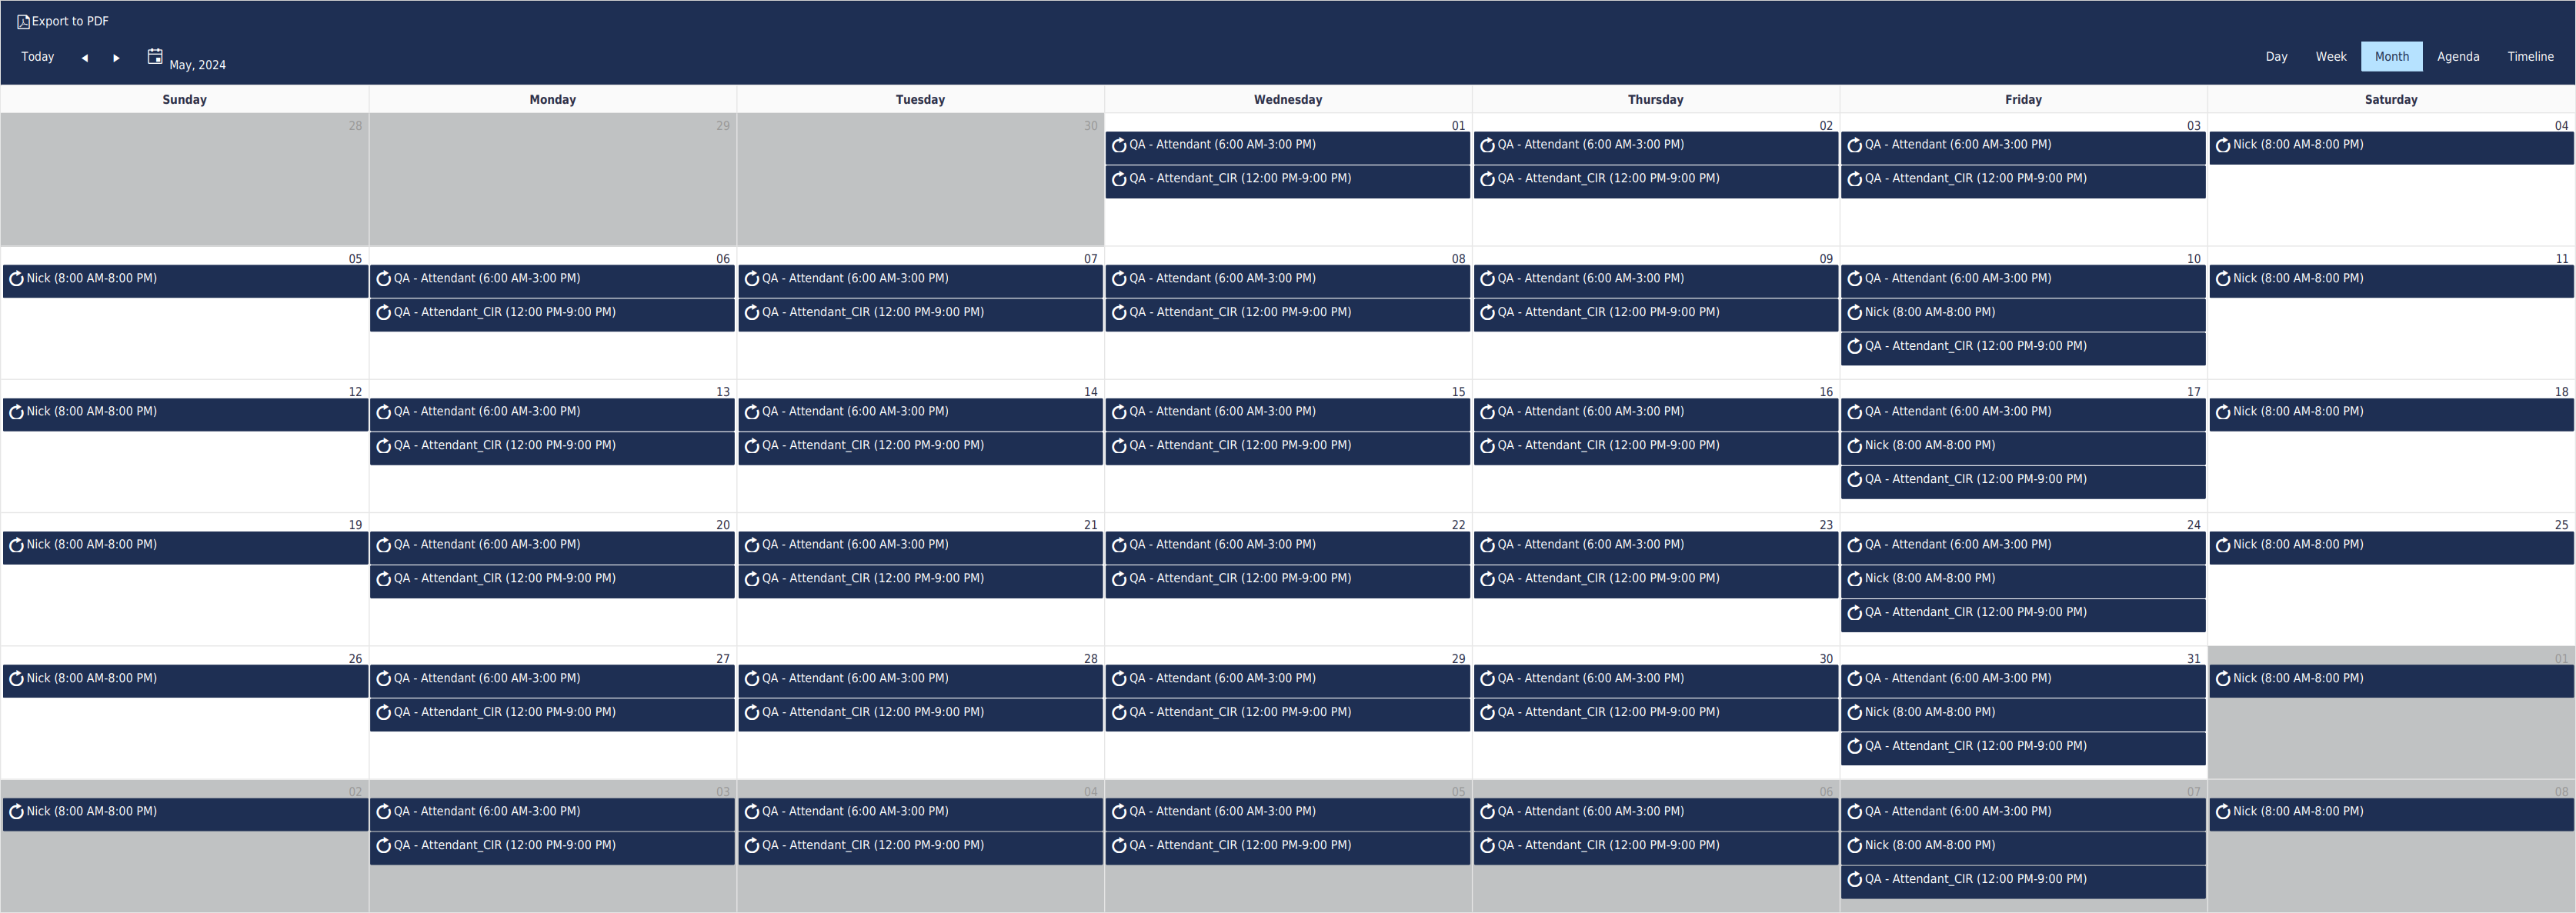
| title | Default View |
The default view for the Work Schedule on the FasCard Admin site is the "Month" format, which presents a standard monthly calendar
(below).

Additional formats
To view additional calendar layouts, see below.
| borderColor | #416EB6 |
|---|---|
| titleColor | #E6E6E6 |
| titleBGColor | #416EB6 |
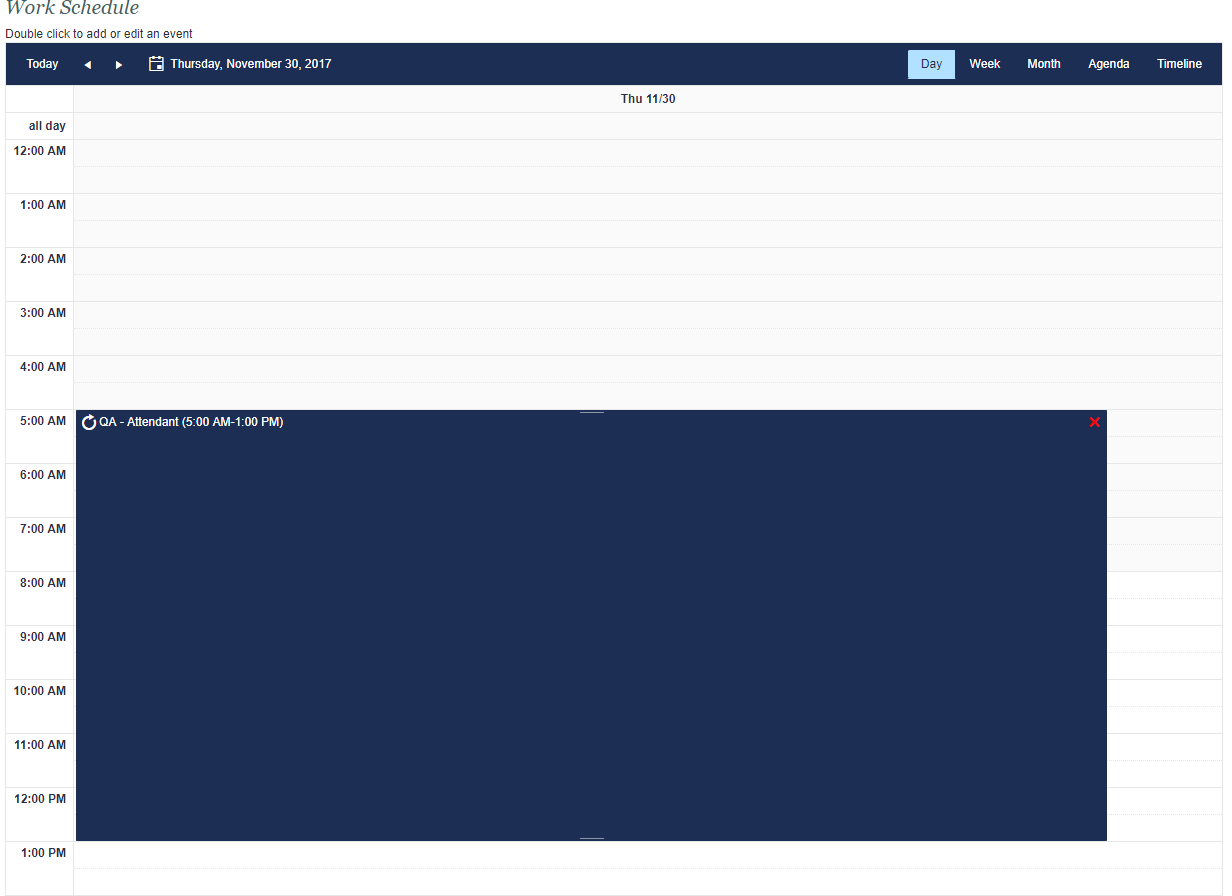
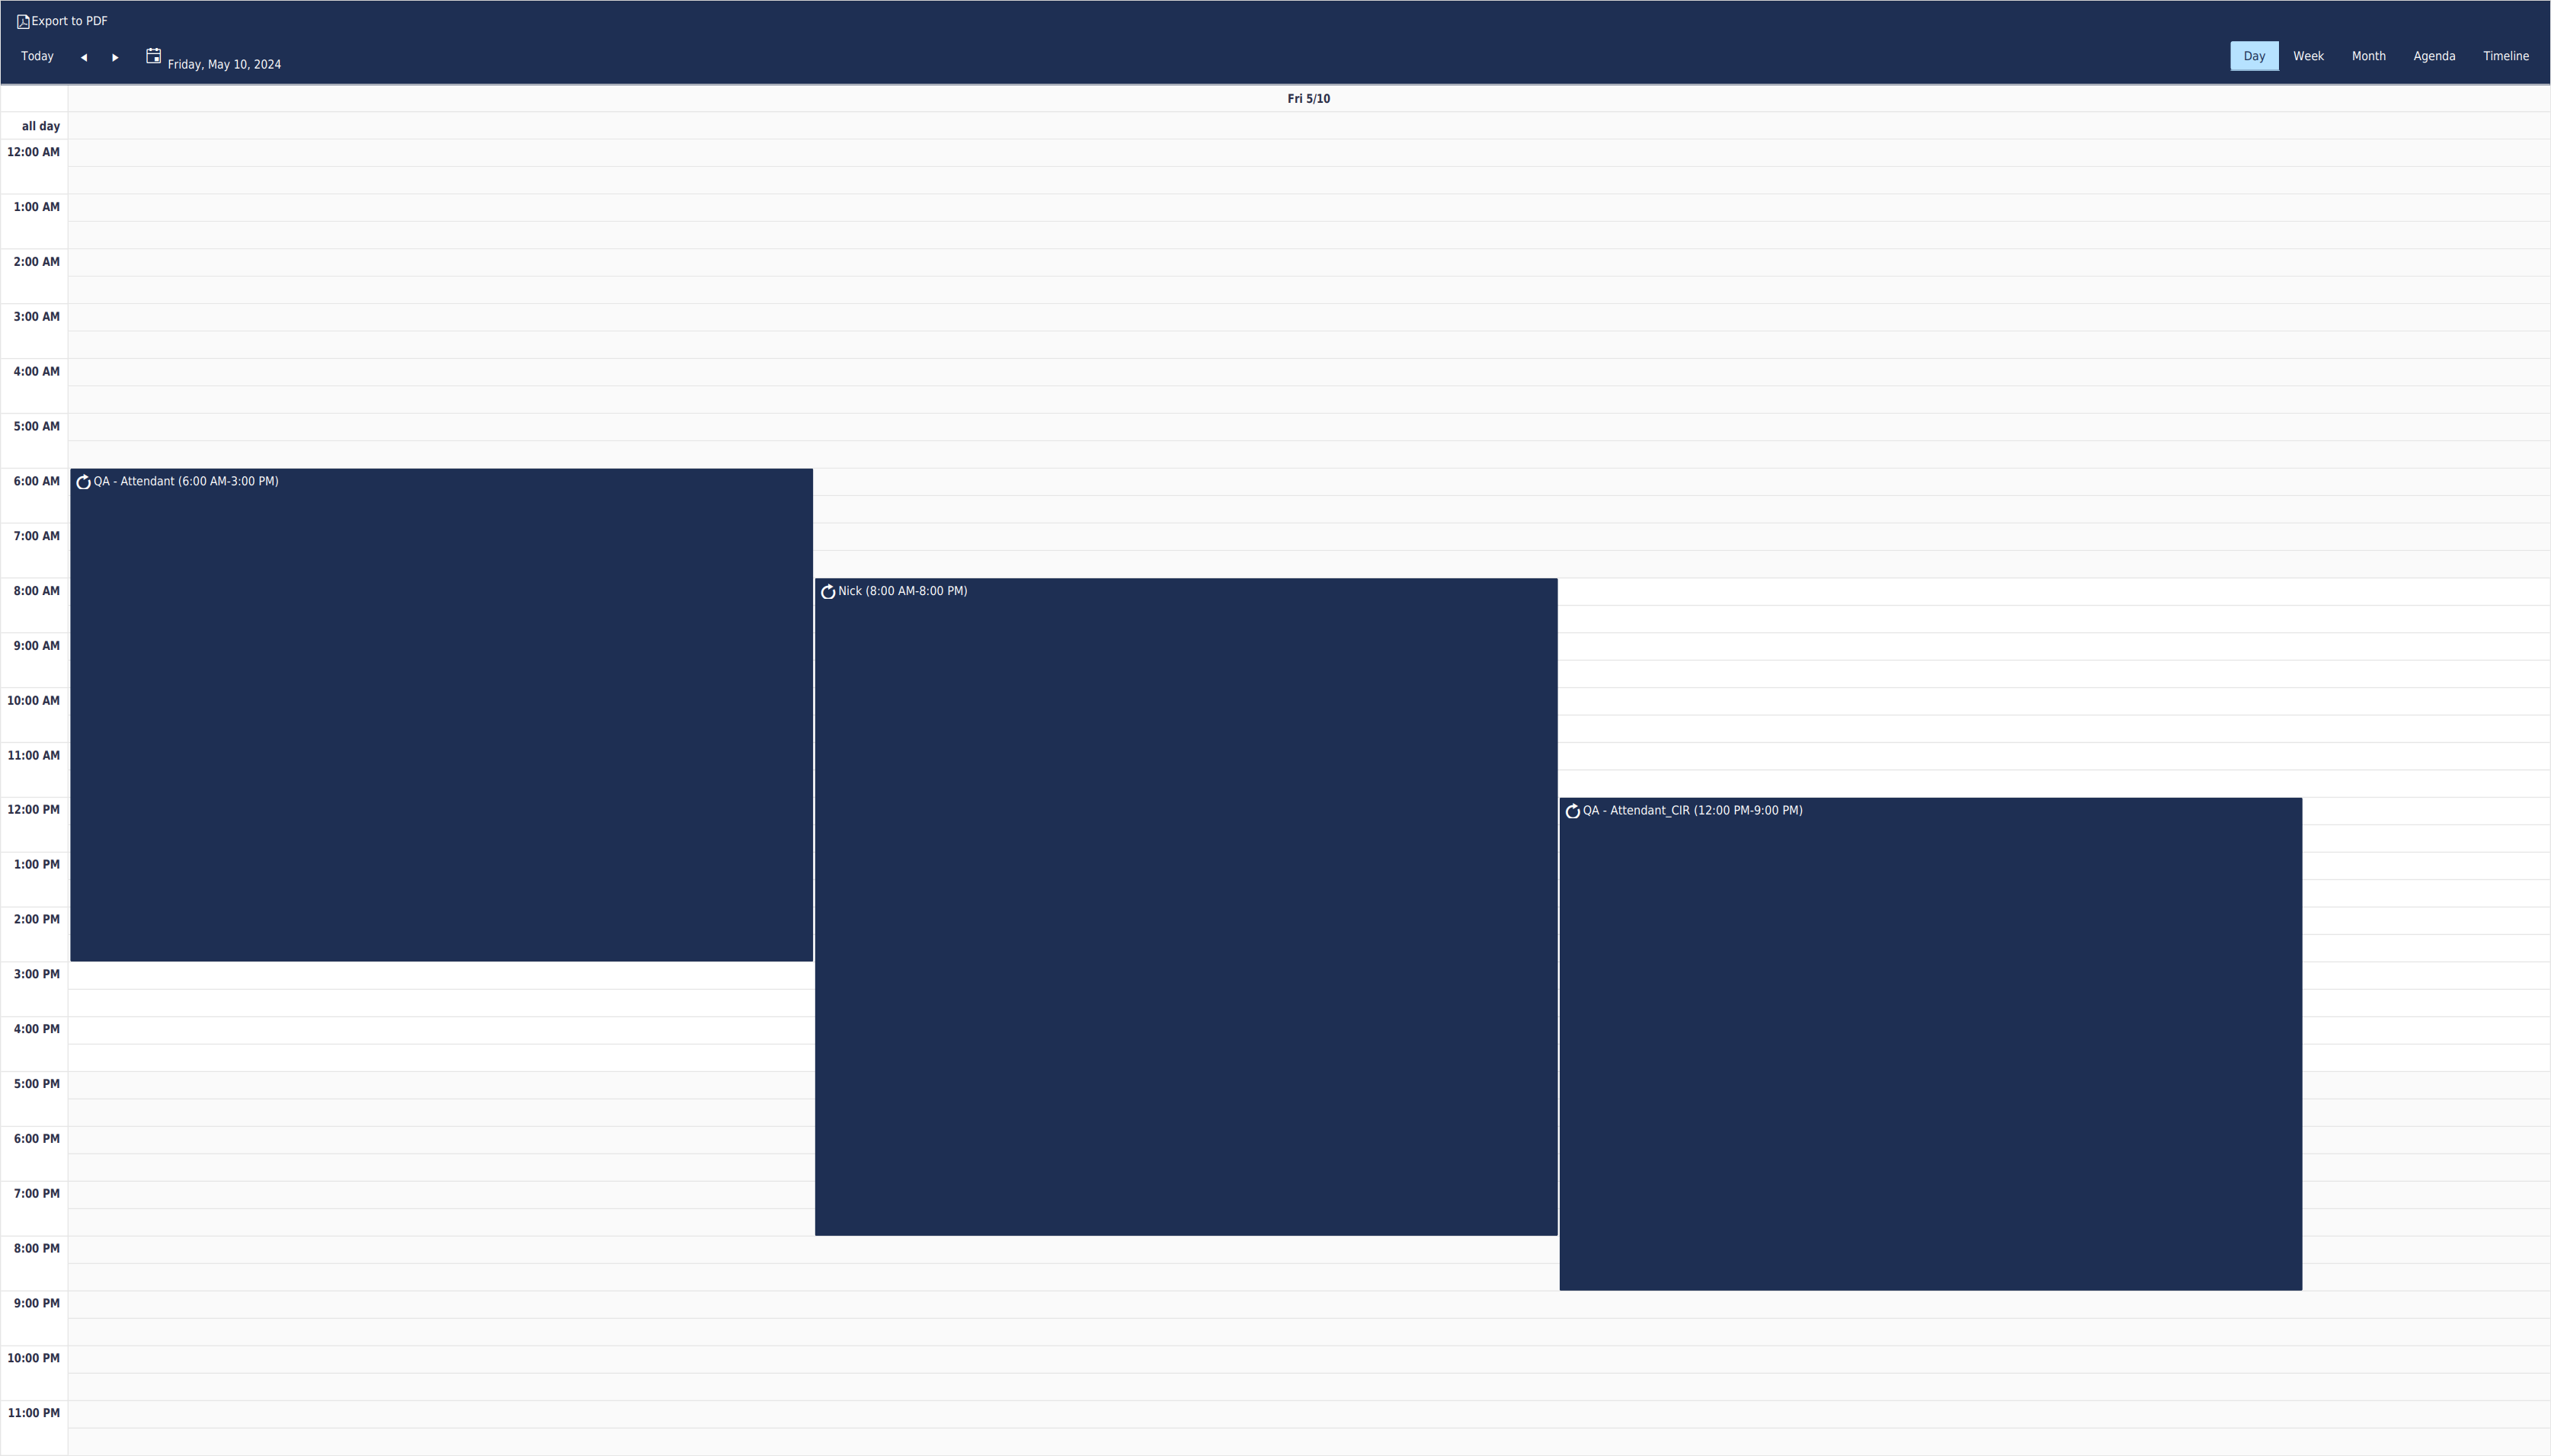
| title | Day Format |

Additional Formats
The Day format shows the selected date, hour to hour.
| borderColor | #416EB6 |
|---|---|
| titleColor | #E6E6E6 |
| titleBGColor | #416EB6 |
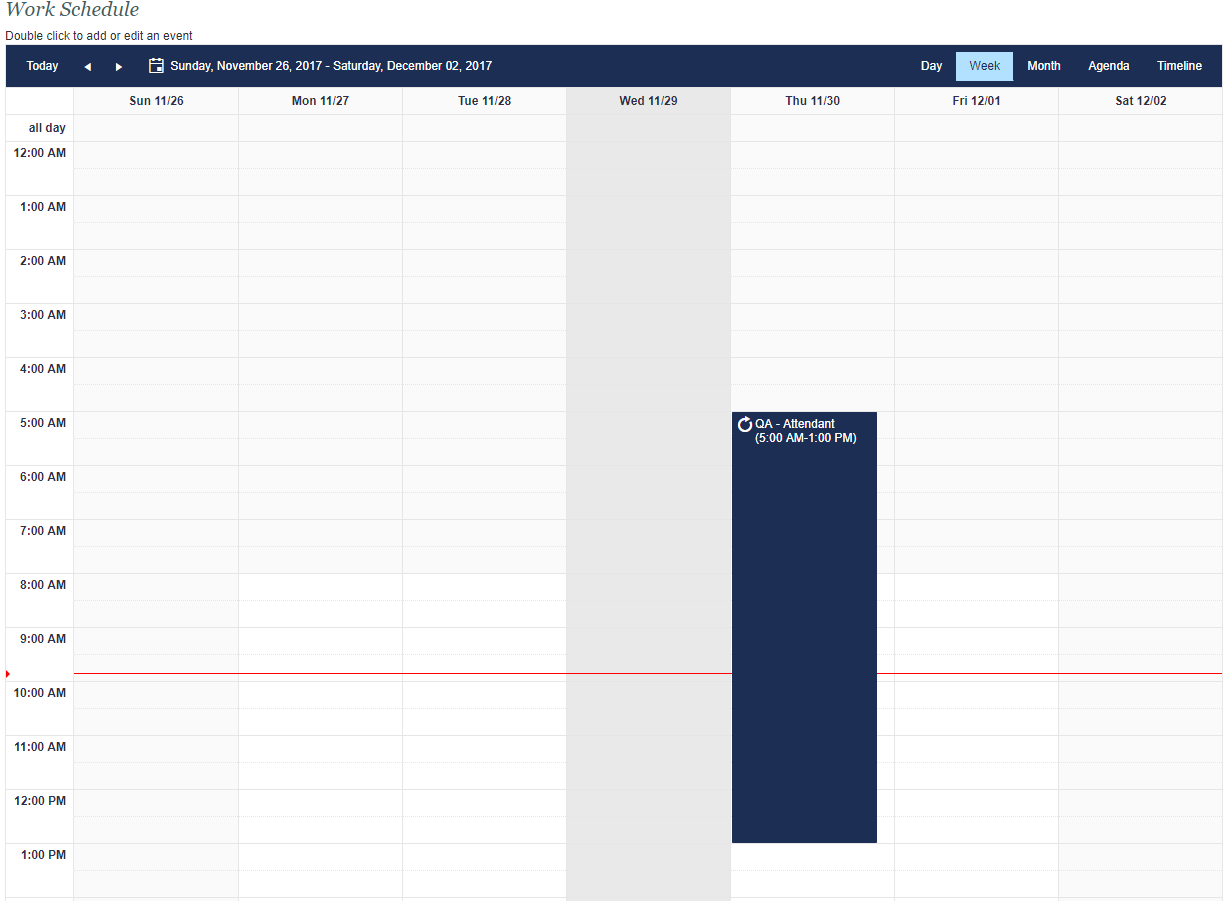
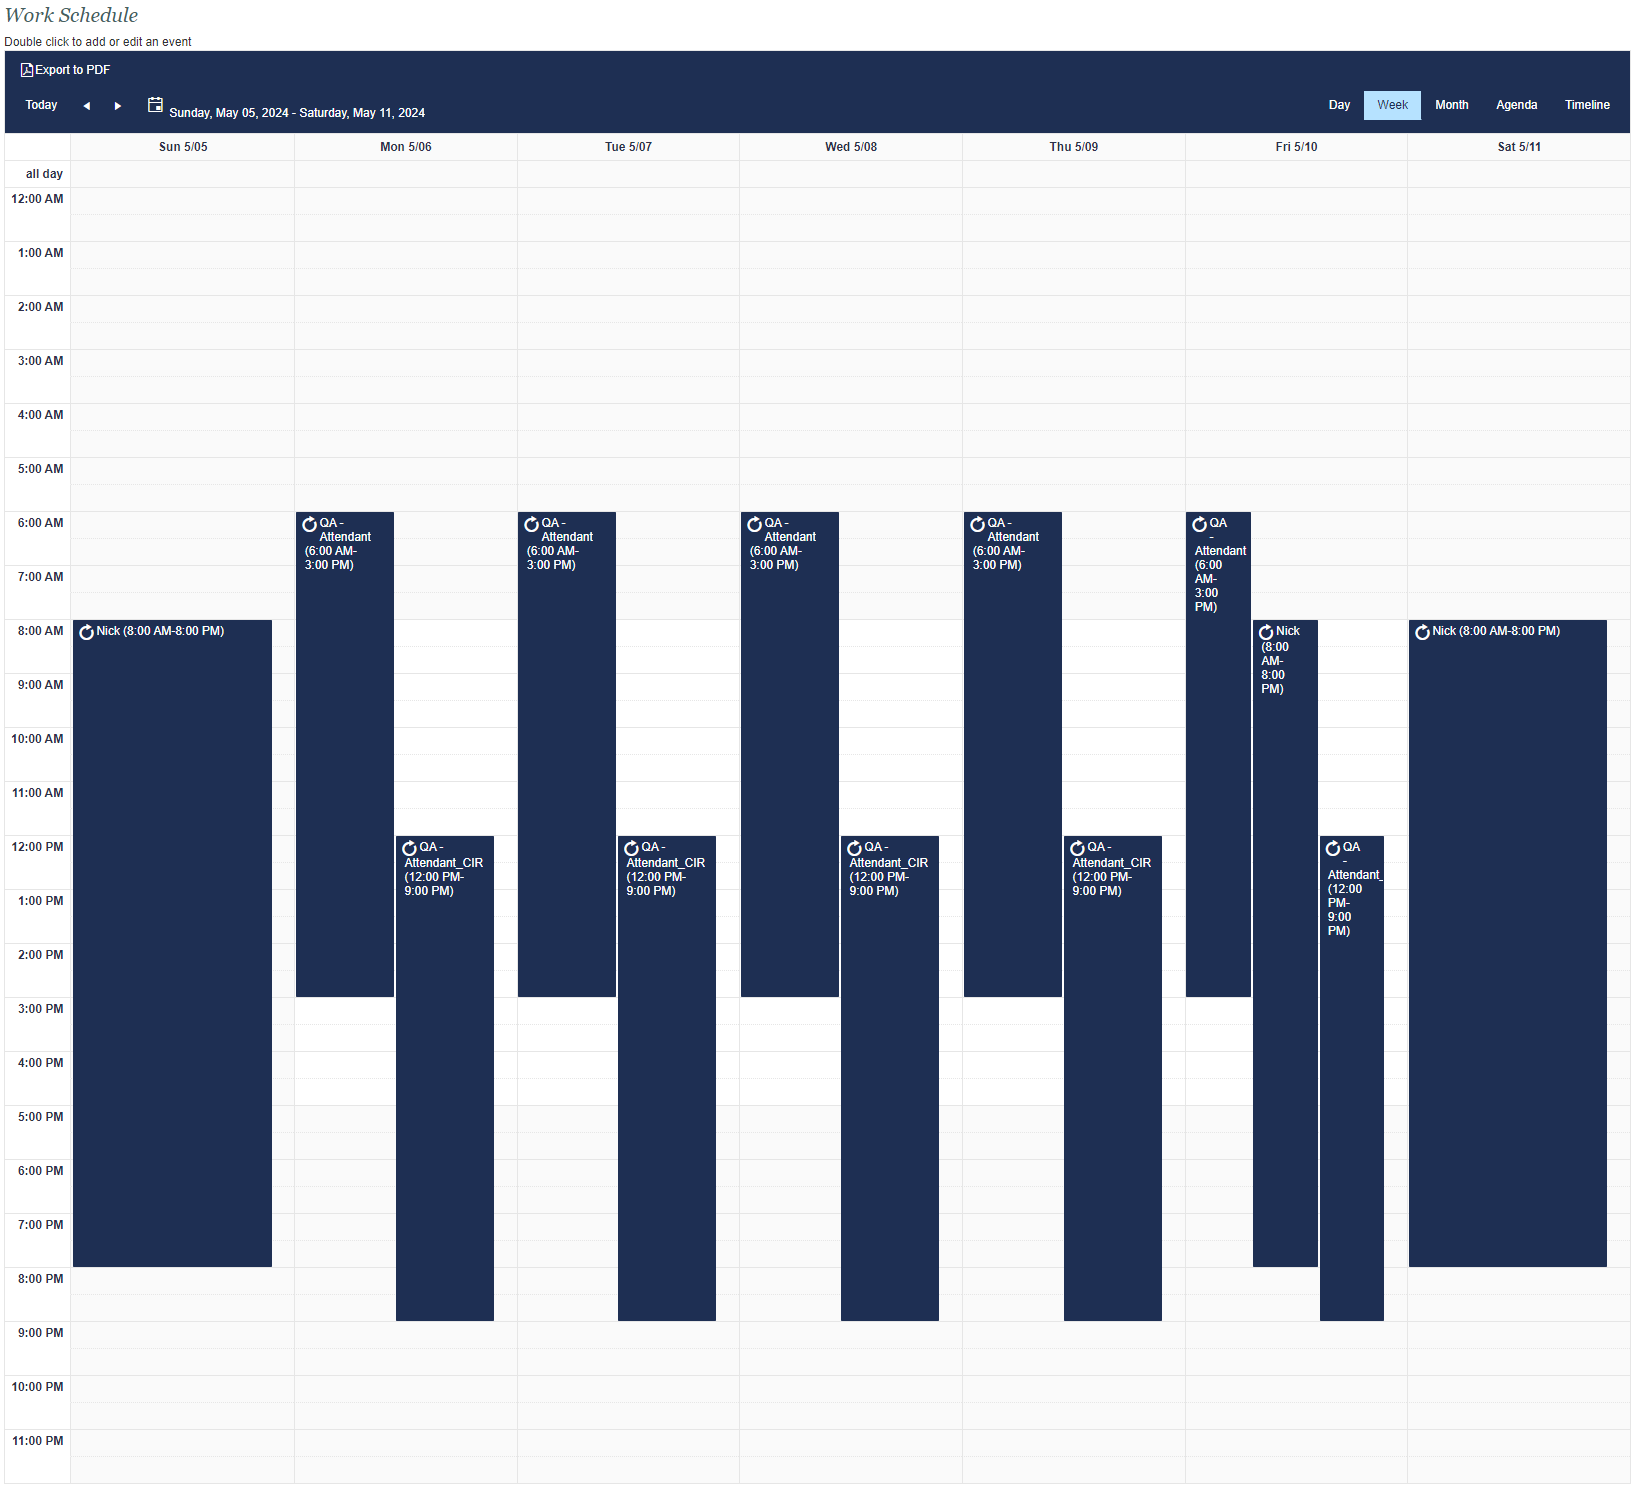
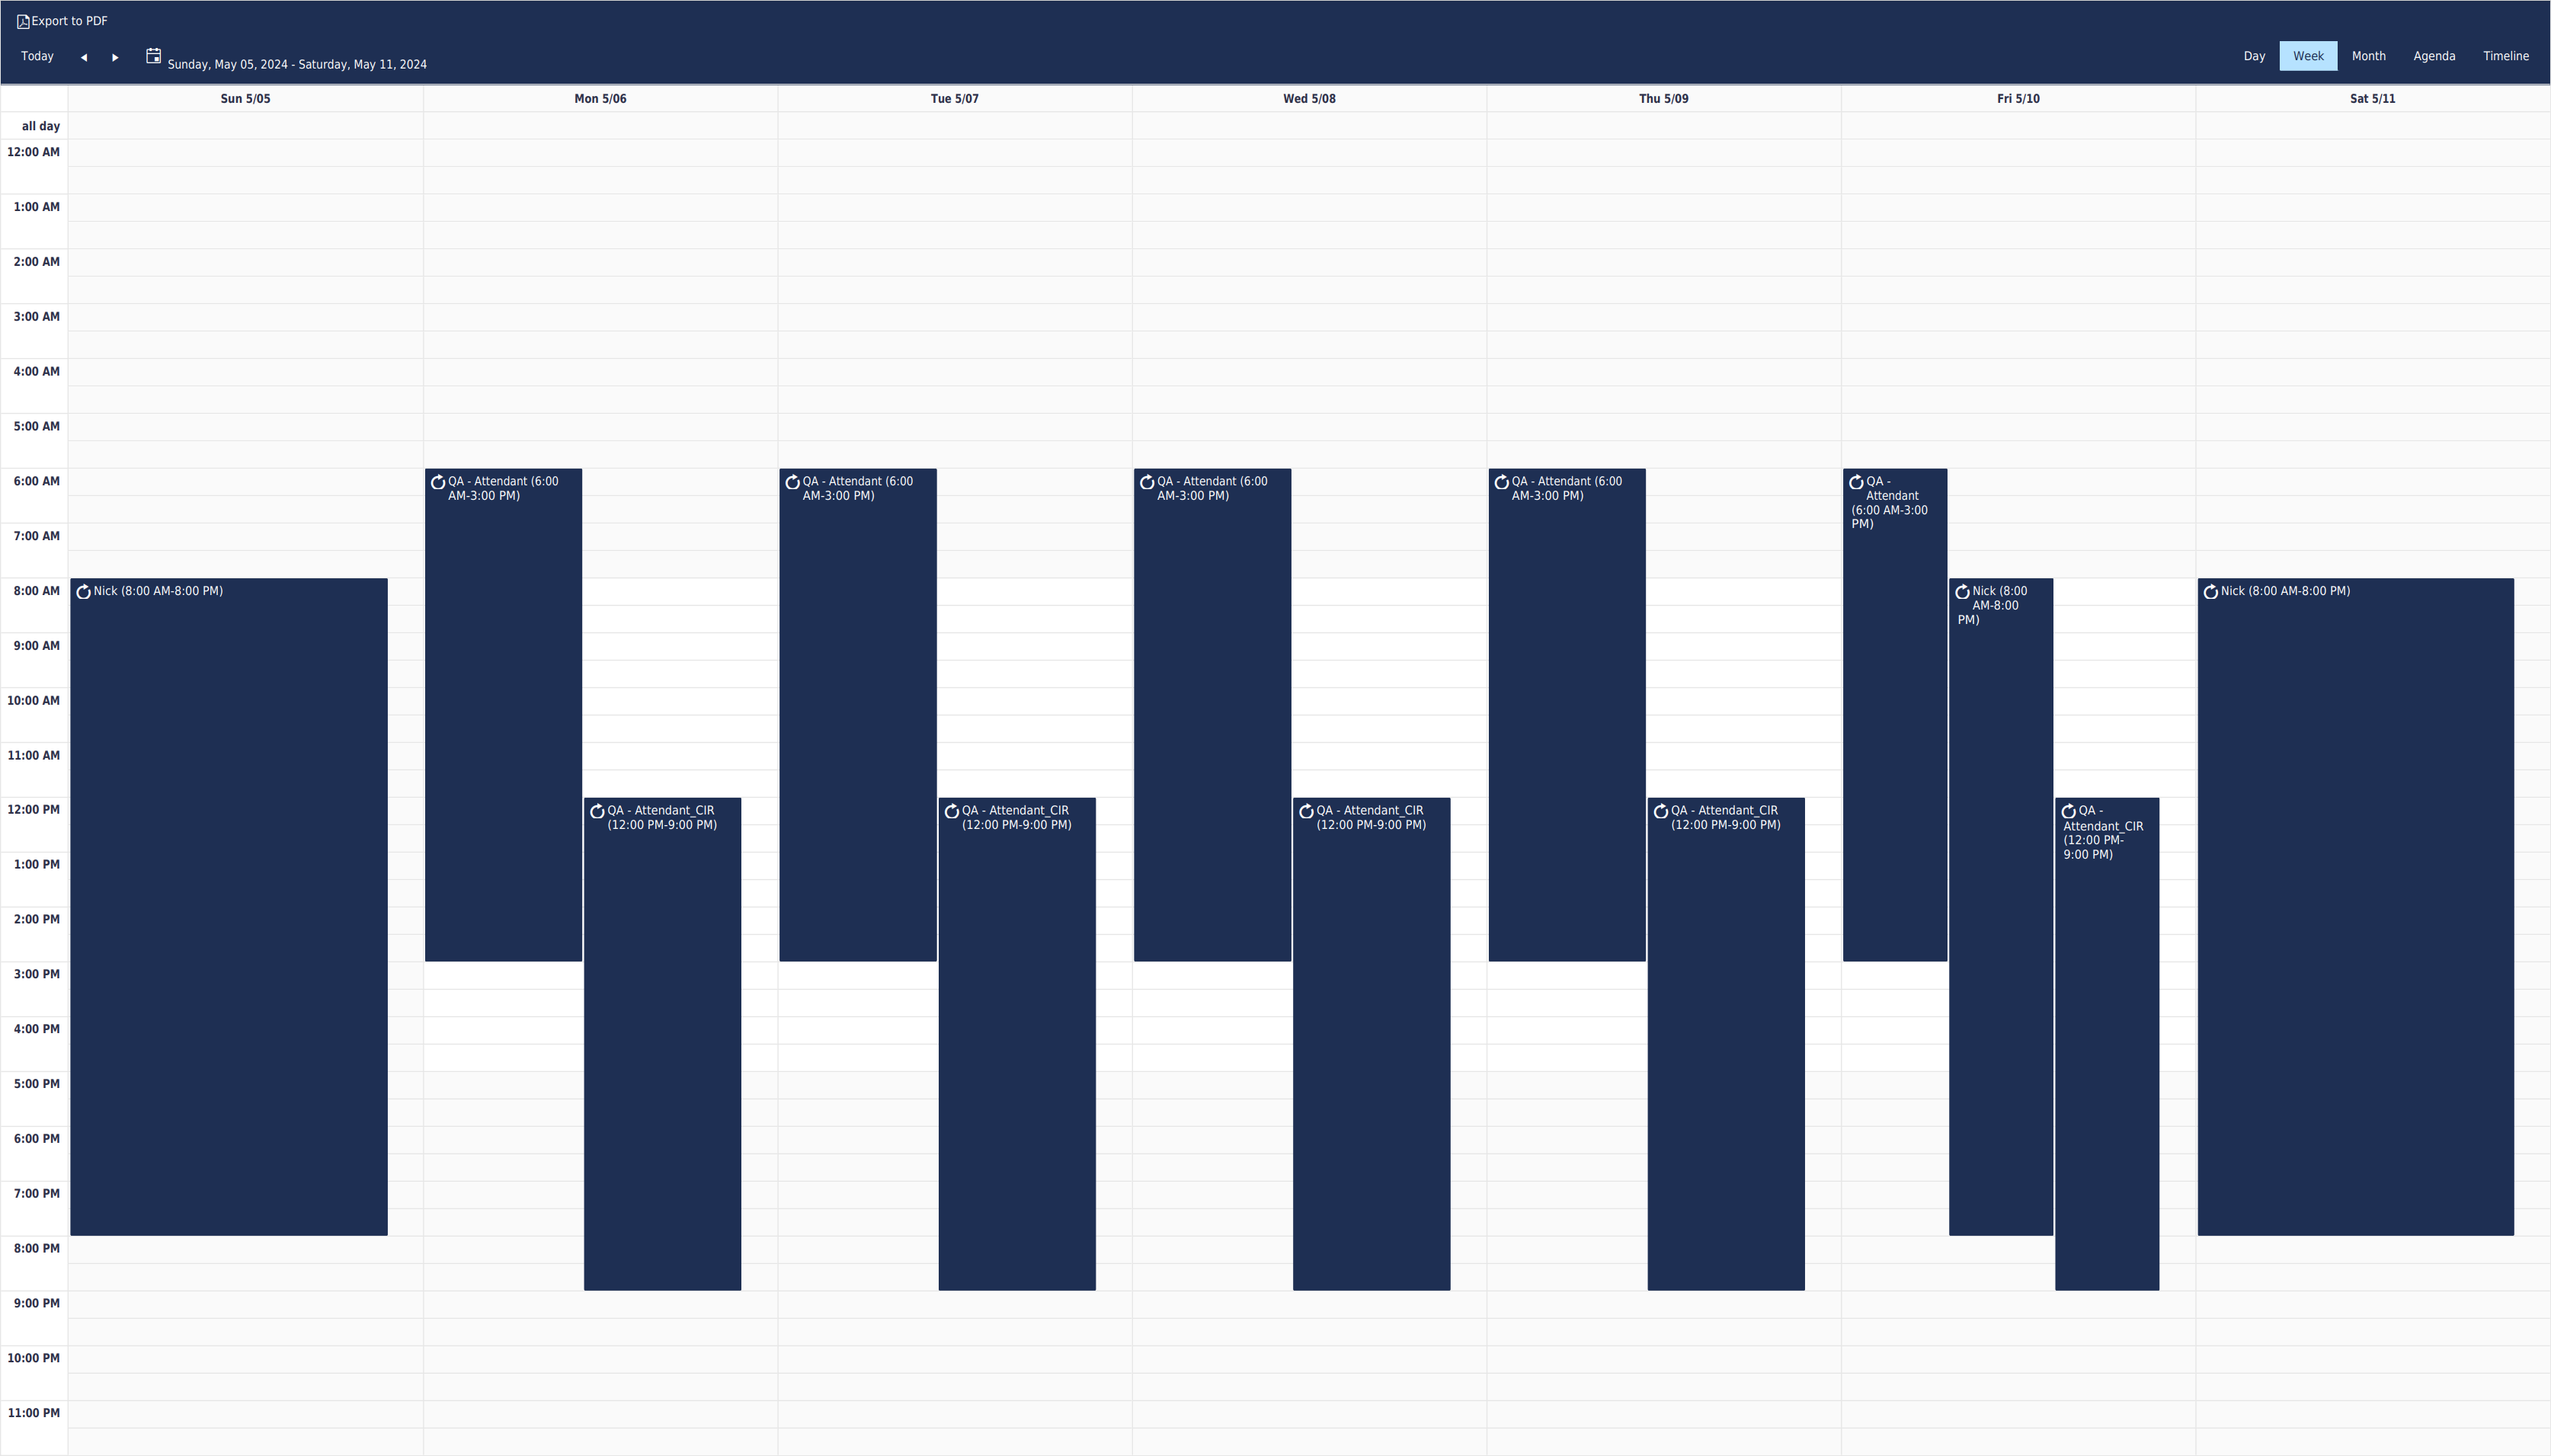
| title | Week Format |
The Week format shows the chosen date range as a series of hour-to-hour events by date.
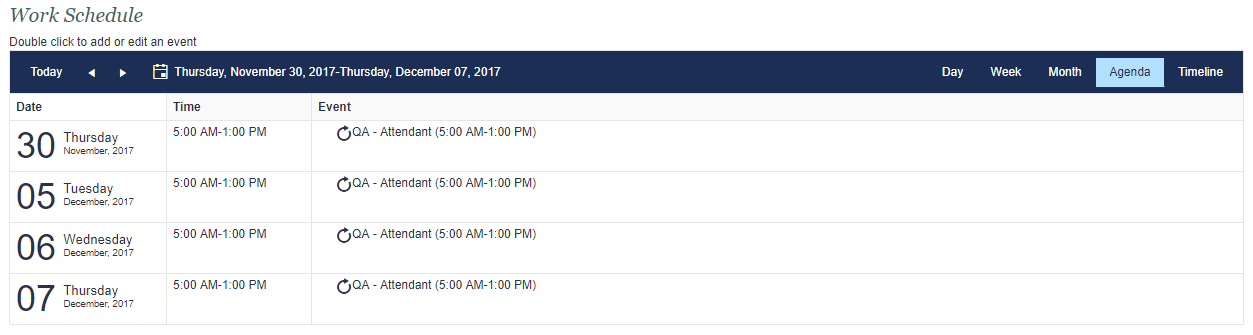
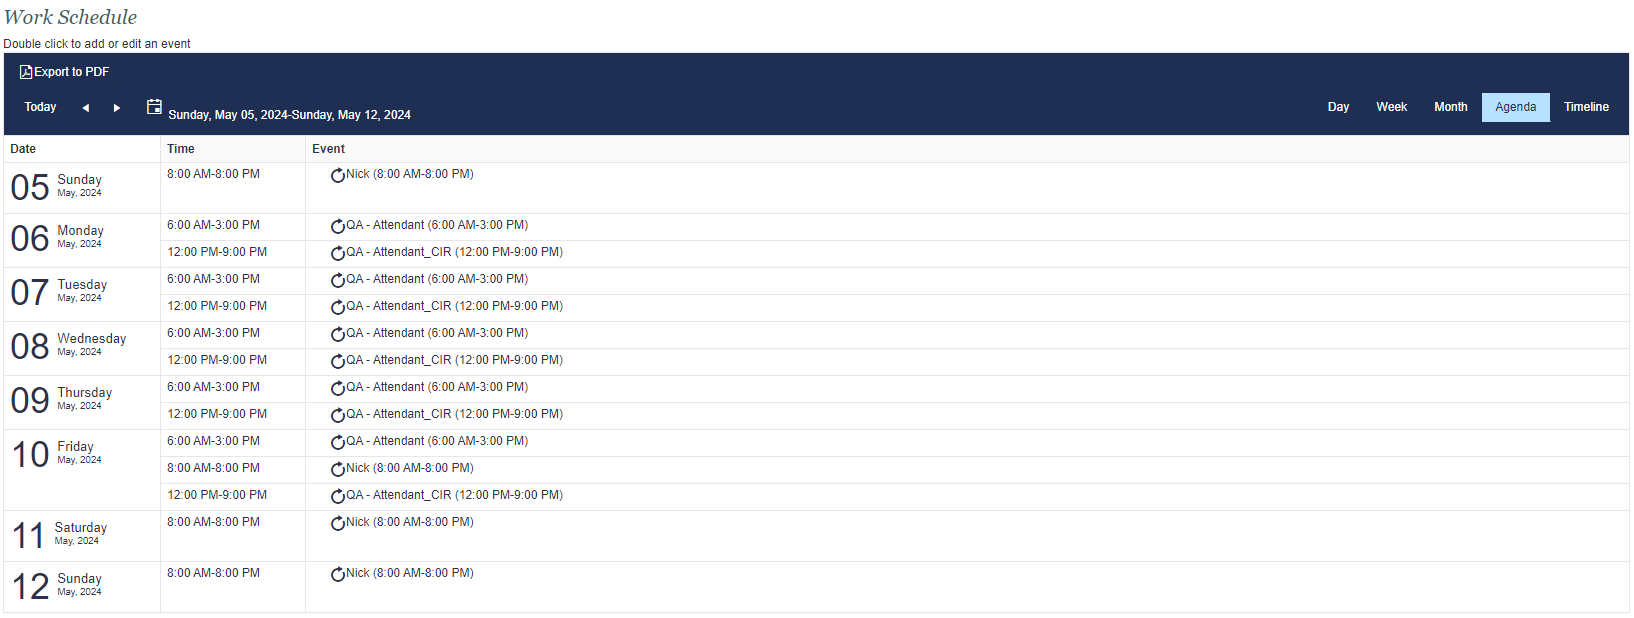
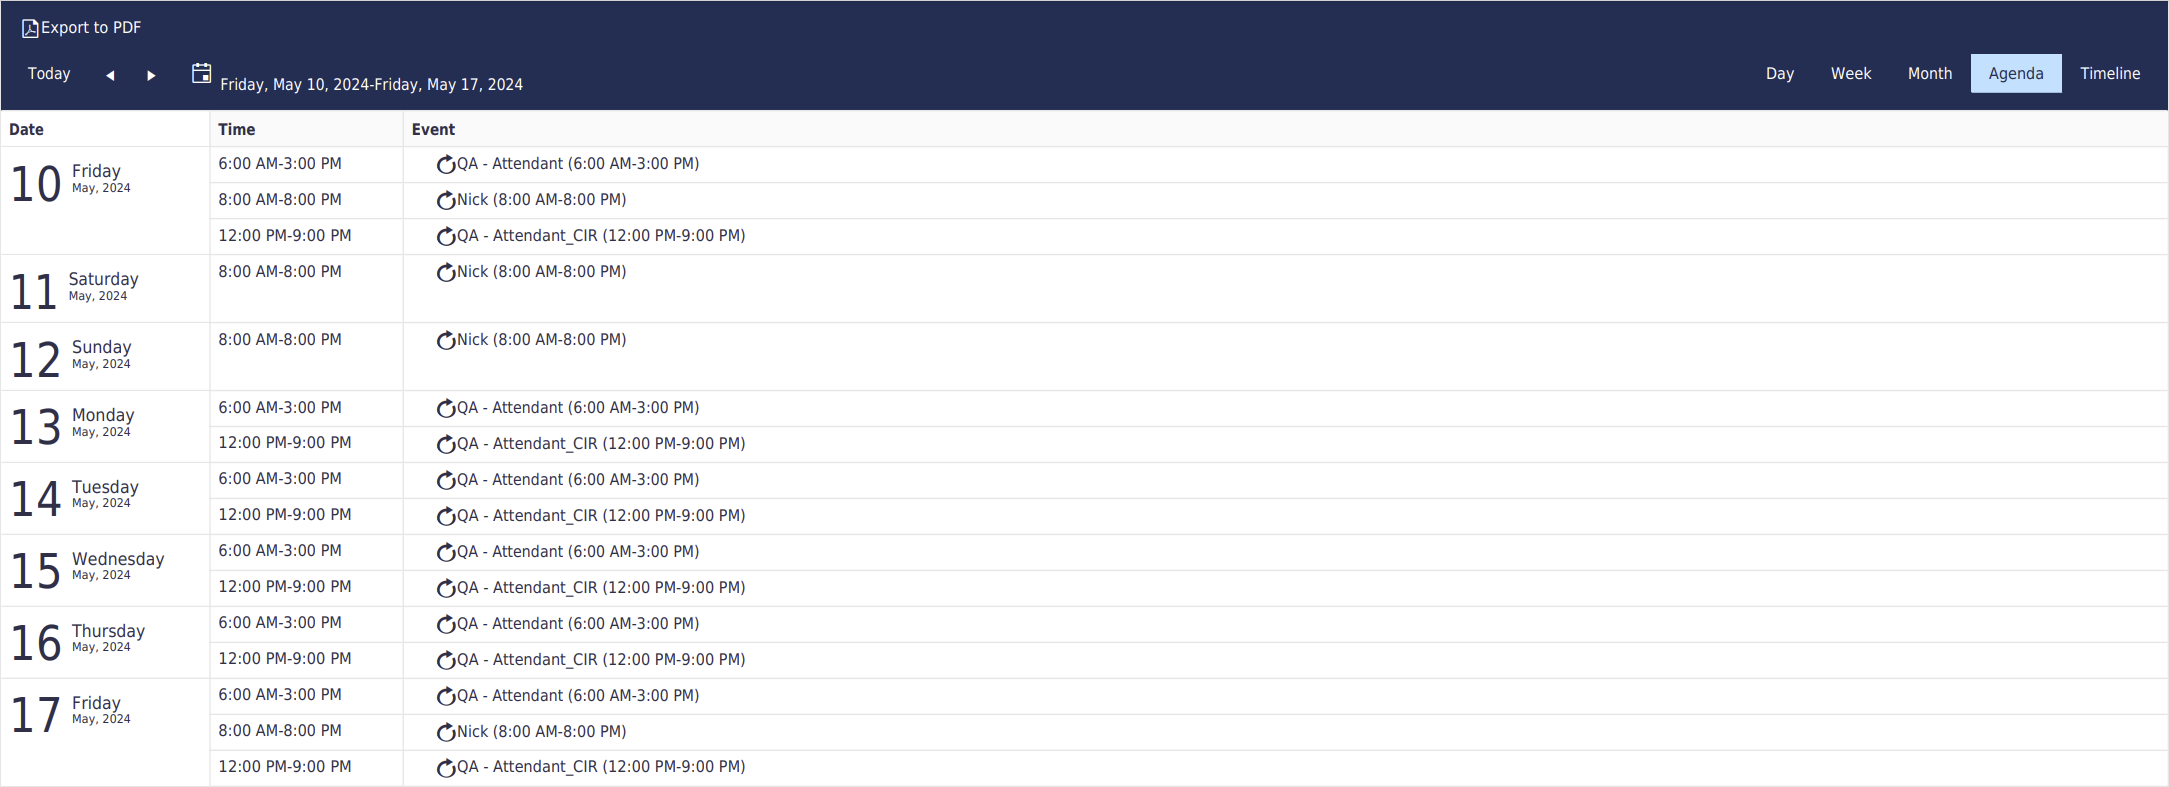
The
"Agenda
"format shows upcoming shifts, omitting hours and dates
whereinwhere no specific tasks or hours have been created or set.
| borderColor | #416EB6 |
|---|---|
| titleColor | #E6E6E6 |
| titleBGColor | #416EB6 |
| title | Timeline Format |
The Timeline format shows shifts
inwith a side-scrolling bar for an hour-by-hour view of the chosen date.

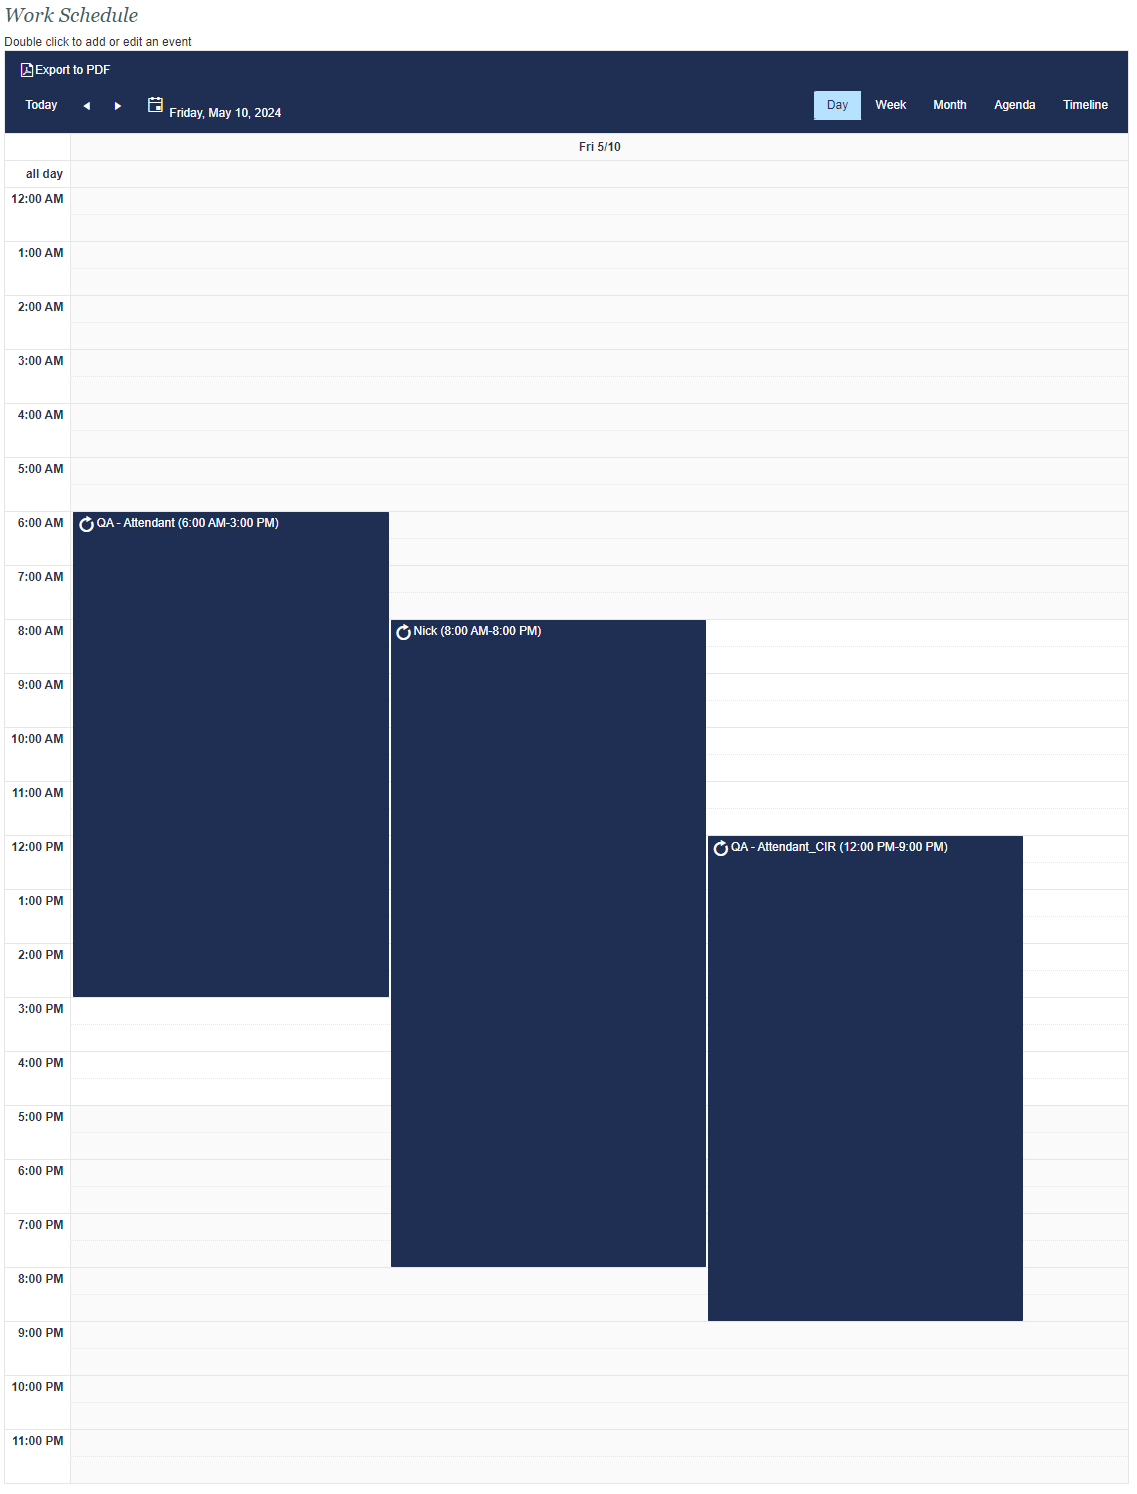
Printing the Work Schedule
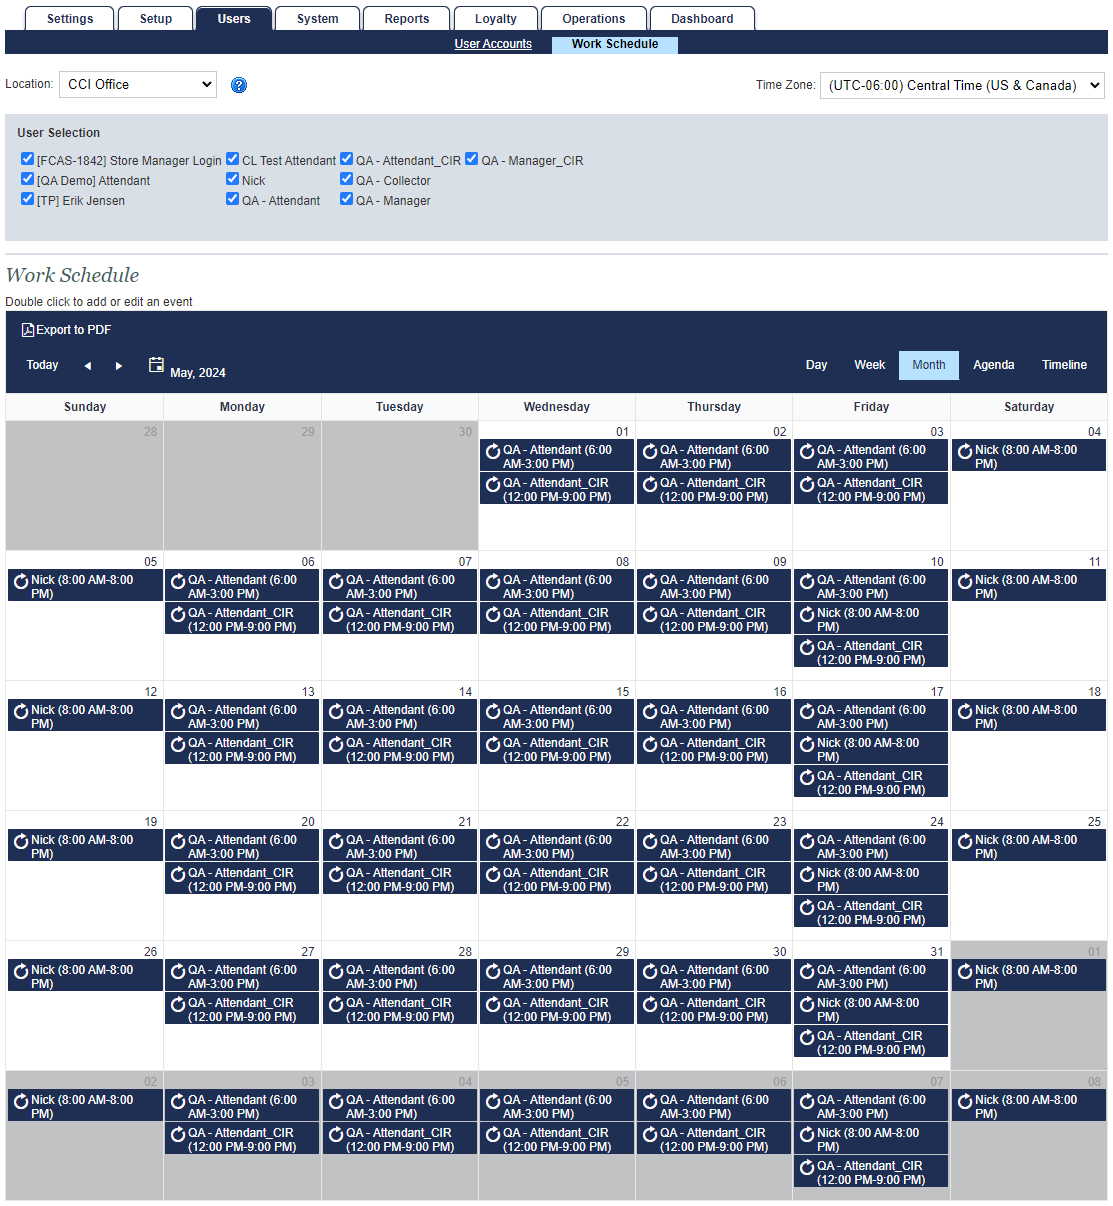
Selecting the Export to PDF button on the top-left of the calendar view allows the user to generate a PDF version of the current calendar view for easier printing.

Exporting the file to print can be done with every format.

Viewing Work Schedules on the FasCard Mobile App
Employees may use the FasCard Mobile app to view assigned work schedules. Details regarding the attendant functions of the FasCard Mobile app may be found here: FasCard Loyalty App - Employee Features.