| Table excerpt include | ||||||
|---|---|---|---|---|---|---|
|
Required Hardware
| Bw part list | ||||||||||
|---|---|---|---|---|---|---|---|---|---|---|
|
| Info |
|---|
iOS 10+ remote access configuration specifically requires the aforementioned updated C-4311 Firewall. Units shipped before require reconfiguration and cannot be upgraded in the field. Click the following link for more information: LaundryCard VPN with Apple iOS10 / macOS Sierra. |
Other Requirements
- Store Static IP address.
- CCI-provided Username.
- Your saved password is established for the LaundryCard system.
| Info | ||
|---|---|---|
| ||
When first requesting login rights from CCI, you will receive an email with your username and a temporary placeholder password with instructions to enroll and set a new password. For more information regarding our Self Service Password Management System, click the following link: LaundryCard Self-Service Password Management Website. |
The VPN Menu
Accessing the VPN menu can be done in a number of ways.
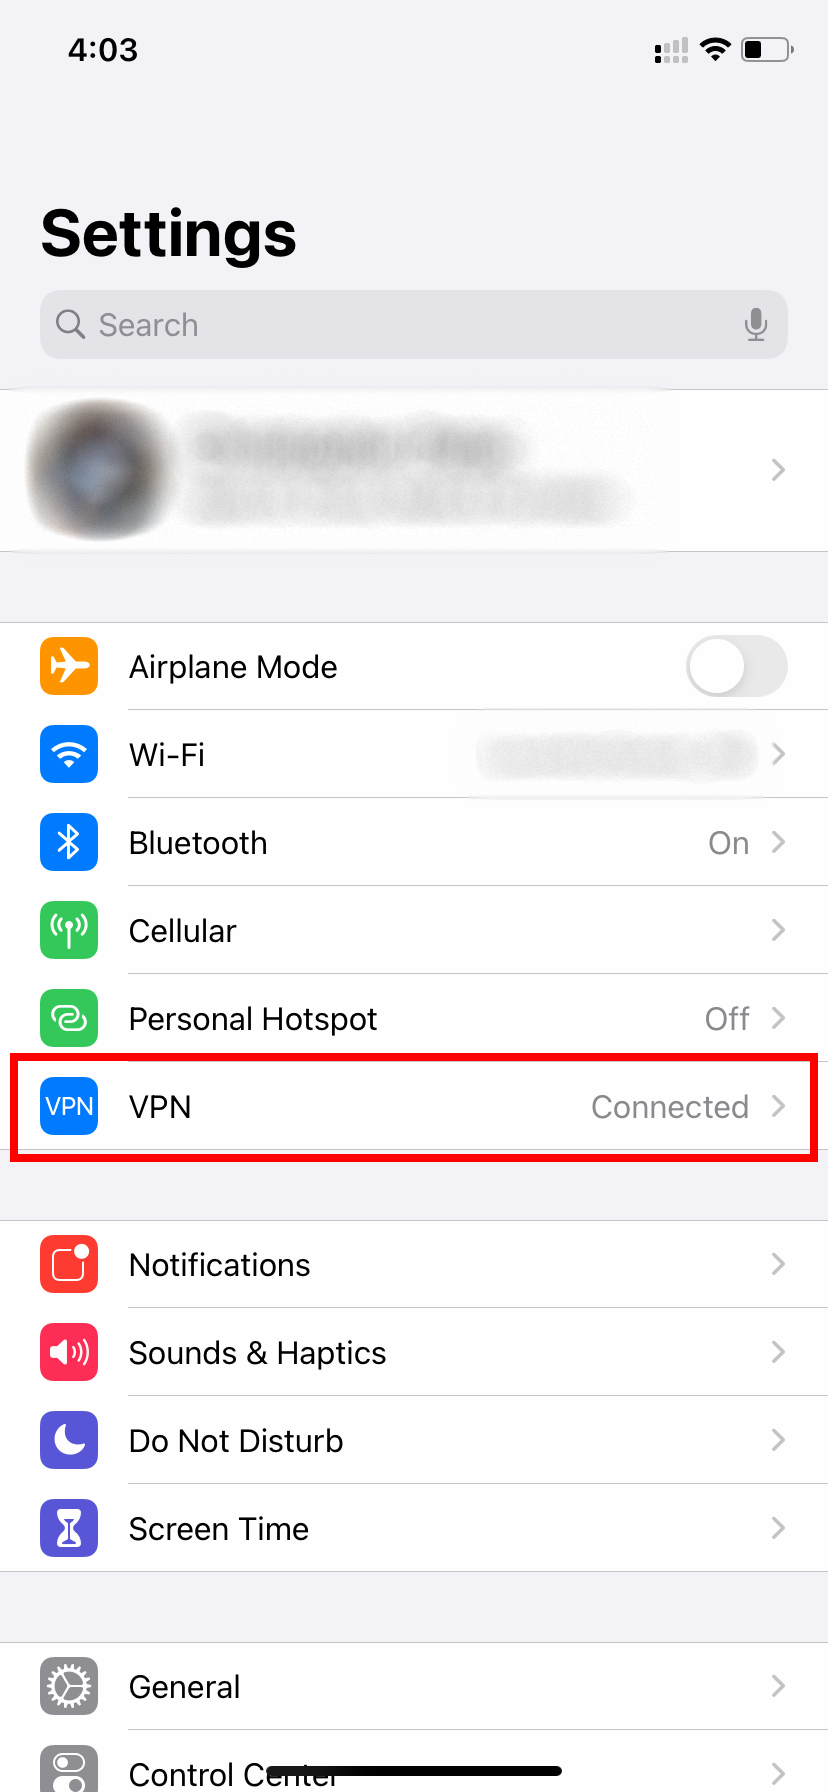
Settings → VPN
If you already have a VPN service of any kind, whether manually set up or through an app, the VPN button will be immediately accessible on the main Settings menu.
- From the Home screen, tap on the Settings icon.
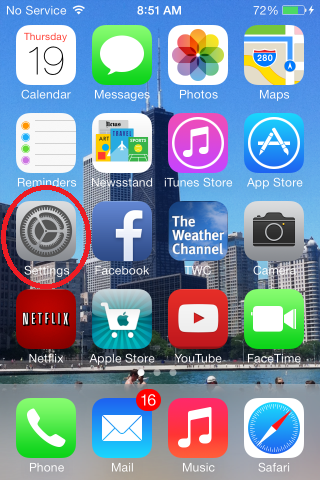
- Tap on the VPN button.
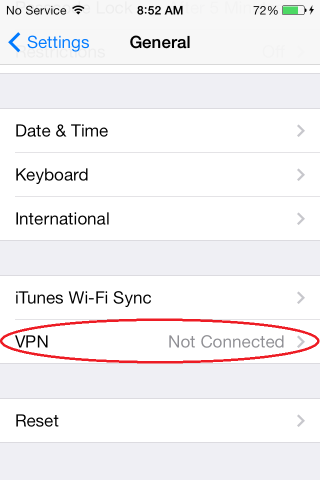
Settings → General → VPN
If you have never set up a VPN previously, the VPN menu will be accessible from the General submenu of the Settings page.
- From the Home screen, tap on the Settings icon.
- Tap on General, then tap on VPN.
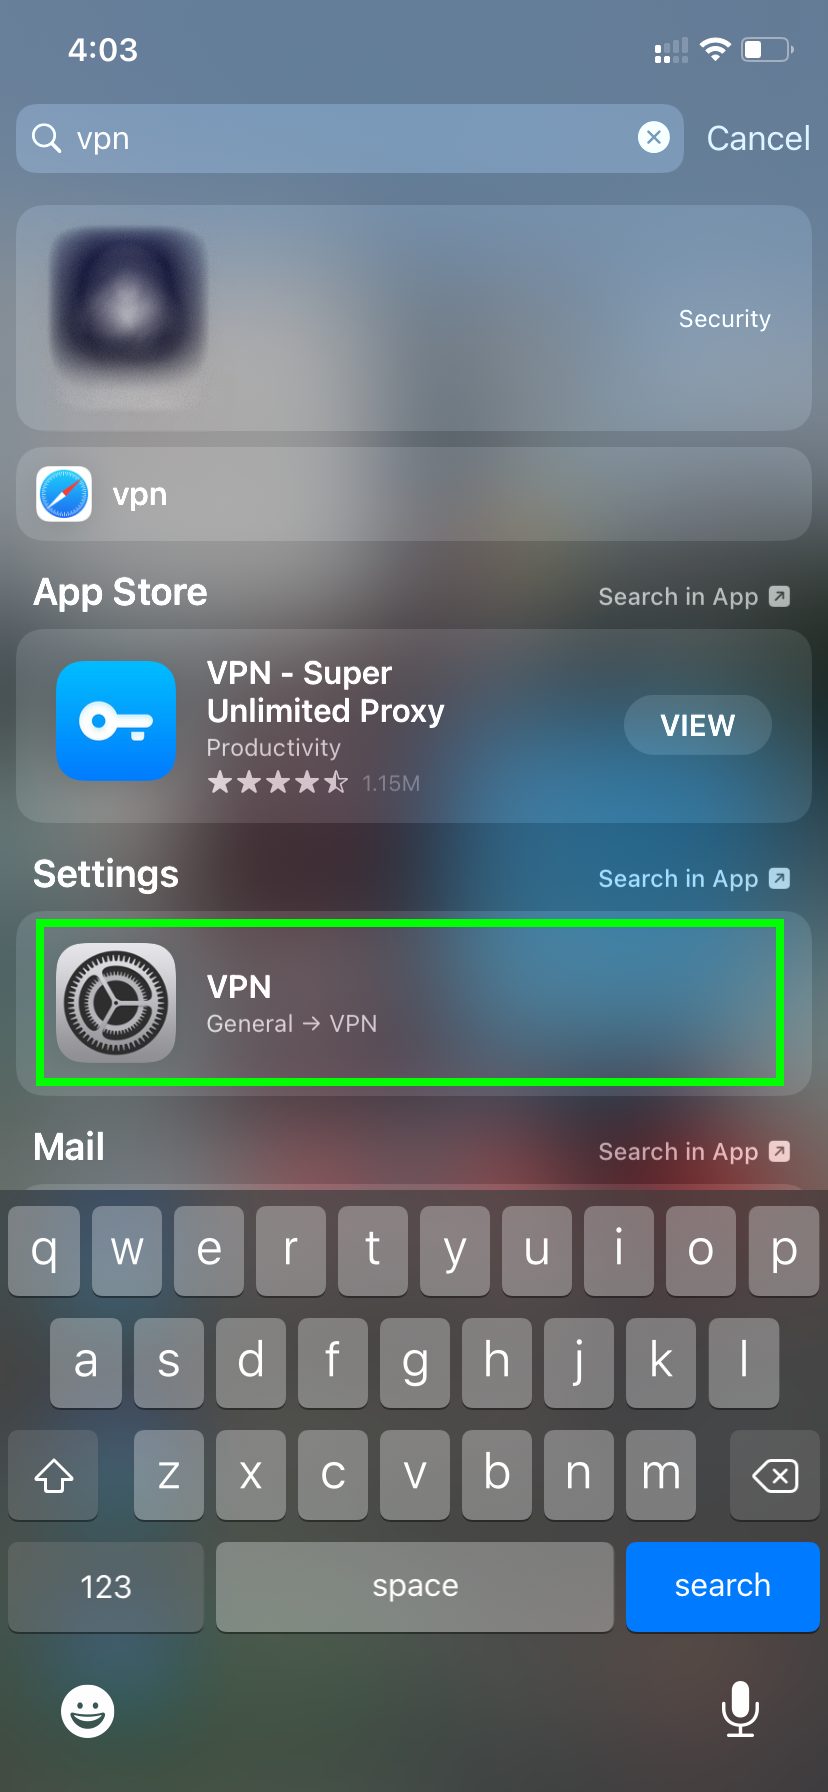
iOS Search Function
- From the Home Screen, Swipe down from anywhere on the screen except the top row.
- Type VPN in the search.
- Tap on the search result VPN (General → VPN) in the Settings section.
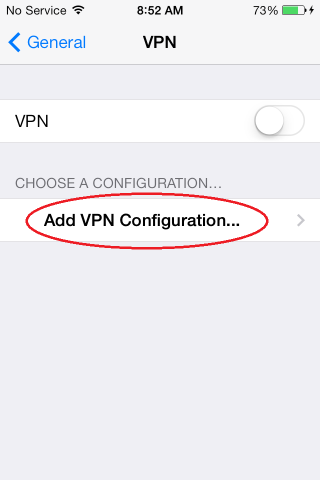
Add a VPN
- From the VPN menu, tap on Add VPN Configuration
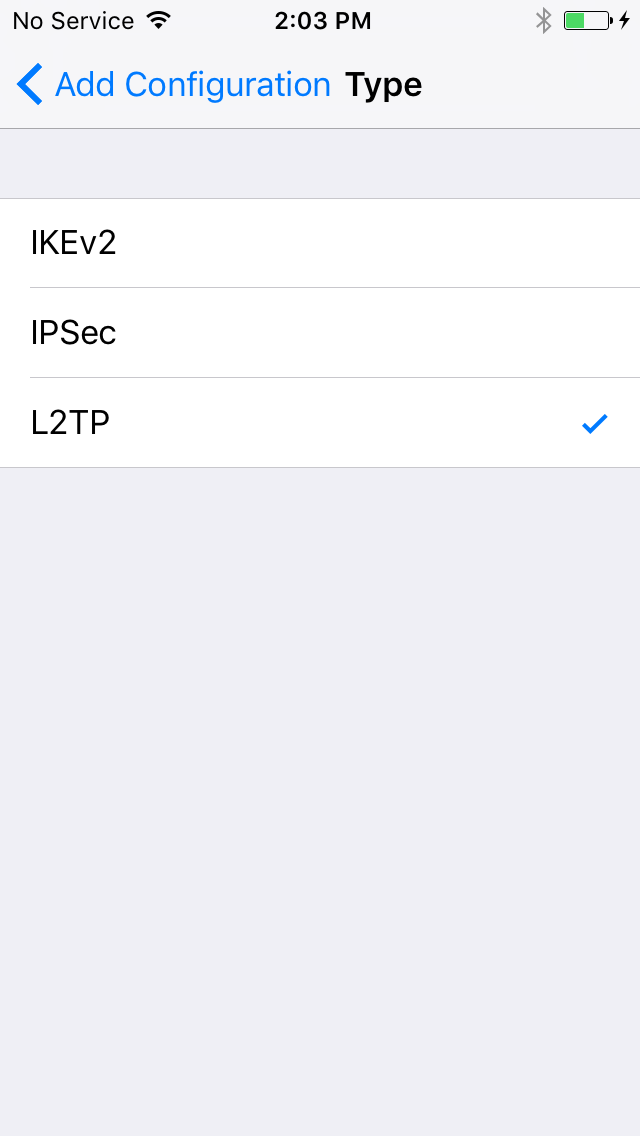
- Tap Type near the top of the screen.
- Select L2TP from the list of options to check-enable L2TP as the connection type.
- Tap Add Configuration to return to the previous screen.
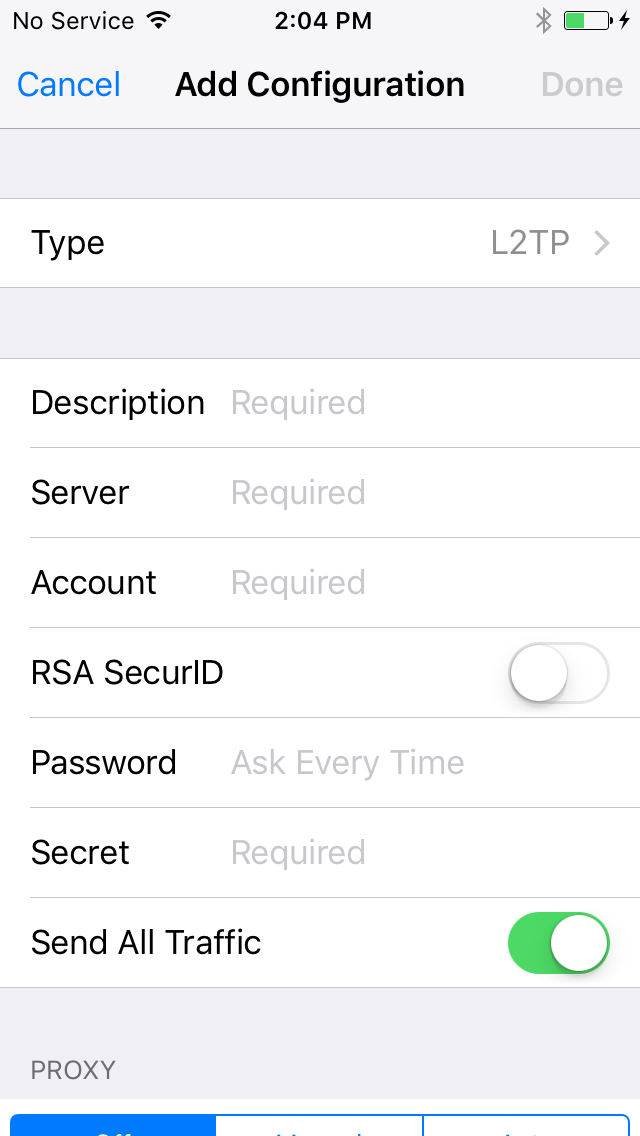
- Fill in the following fields, leaving any other settings as is:
- Description: Customer's assigned name for connection.
- Server: The static IP address of the store.
- Account: The username provided by CCI.
- Password: The password provided by CCI. It is strongly recommended to not use the given placeholder password.
- Secret: NoMoreCoins2Collect
- Send All Traffic: On
- Press Done.
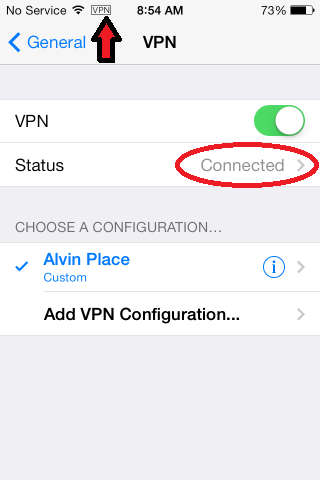
- Once the VPN has been created, tap the VPN toggle switch to turn on the selected VPN connection.
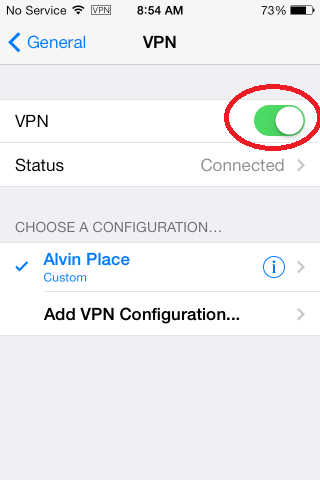
- The system will indicate a successful connection by displaying "Status: Connected" and a small "VPN" icon will display at the top of the screen.
Access the System
- Once you are connected to the VPN, open up your preferred internet browser and enter the following:
- X-Changer A's access: http://10.0.0.101/CCI_0/MOption.asp?CardNumber=99
- X-Changer B's access: http://10.0.0.102/CCI_0/MOption.asp?CardNumber=99
- You should now see the Manager Options page just as you would if you were at the store.
- When finished make sure to disconnect the VPN.
- OPTIONAL: Bookmark the page for quick access once connected to the VPN.
Related articles
| Filter by label (Content by label) | ||||||||||||||||
|---|---|---|---|---|---|---|---|---|---|---|---|---|---|---|---|---|
|