This install guide goes over the detailed installation steps for an F2/F3 touchscreen FasCard/FLEX reader onto an existing machine in either a high-front or top-mount position.
C-5402/C-5426-BASE incompatibility
The below solutions are not compatible with previous used high-front/top mount readers or mounting bases.
Swipe Clearance Notice
For top-mount placements, CCI strongly recommends mounting the front of the top-mount bracket 1-1/4 inches from the front of the machine, to allow for card swipe clearance.
Ensure the drilled hole aligns accordingly. Mounting the top-mount bracket any further back then 1-1/4 inches from the front of the machine to the edge of the reader can potentially interfere with mounting the reader to the bracket and may prevent users from being able to swipe or insert a card into the reader due to lack of clearance.
Required parts & tools
FasCard/FLEX reader
| Part ID | Description | Image |
|---|---|---|
| C-5401 | *** DO NOT ORDER *** F2 FasCard Reader | |
| C-5403 | FLEX Reader Front/Vertical Mount | |
| C-5520 | F3 FasCard Reader EMV Compliant |
X080-001 (Top Mount Kit)
Kit ID: I-X0020
Description: 00C0 F2/F3,TM,BKT
| QTY | Part Number | Description | Image |
|---|---|---|---|
| 1 | C-6452 | F2/F3 Top-Mount Bracket | |
| 2 | C-5421 | Screw |
X080-002 (High-Front Mount Kit)
Kit ID: I-X0021
Description: 00C0 F2/F3,HM,BKT
| QTY | Part Number | Description | Image |
|---|---|---|---|
| 1 | C-6465 | F2/F3 High-Mount Bracket | |
| 1 | C-5414 | F2/F3 Std. Mounting Bracket | |
| 2 | C-5416 | Screw | |
| 2 | C-5420 | Screw |
Recommended tools & supplies (not included)
Step-by-step guide
Disconnect any electrical device from power before performing any work on the device. It is recommended that the instructions contained herein be performed by individuals who are qualified to perform these tasks. Card Concepts Inc. takes no responsibility for the accuracy of this document or any damage that may occur to target equipment. Technical Support recommends using all appropriate safety equipment (such as hand and eye protection) during execution of the instructions below.
Step 1 - Drilling Preparation
- Select the part of the machine where the high-front or top-mount bracket will be installed. Ensure this location, whether on the chassis or a panel, is away from any existing components or exposed wiring.
- Mark where you may want to mount the reader with a permanent marker if needed.
- Mark where you may want to mount the reader with a permanent marker if needed.
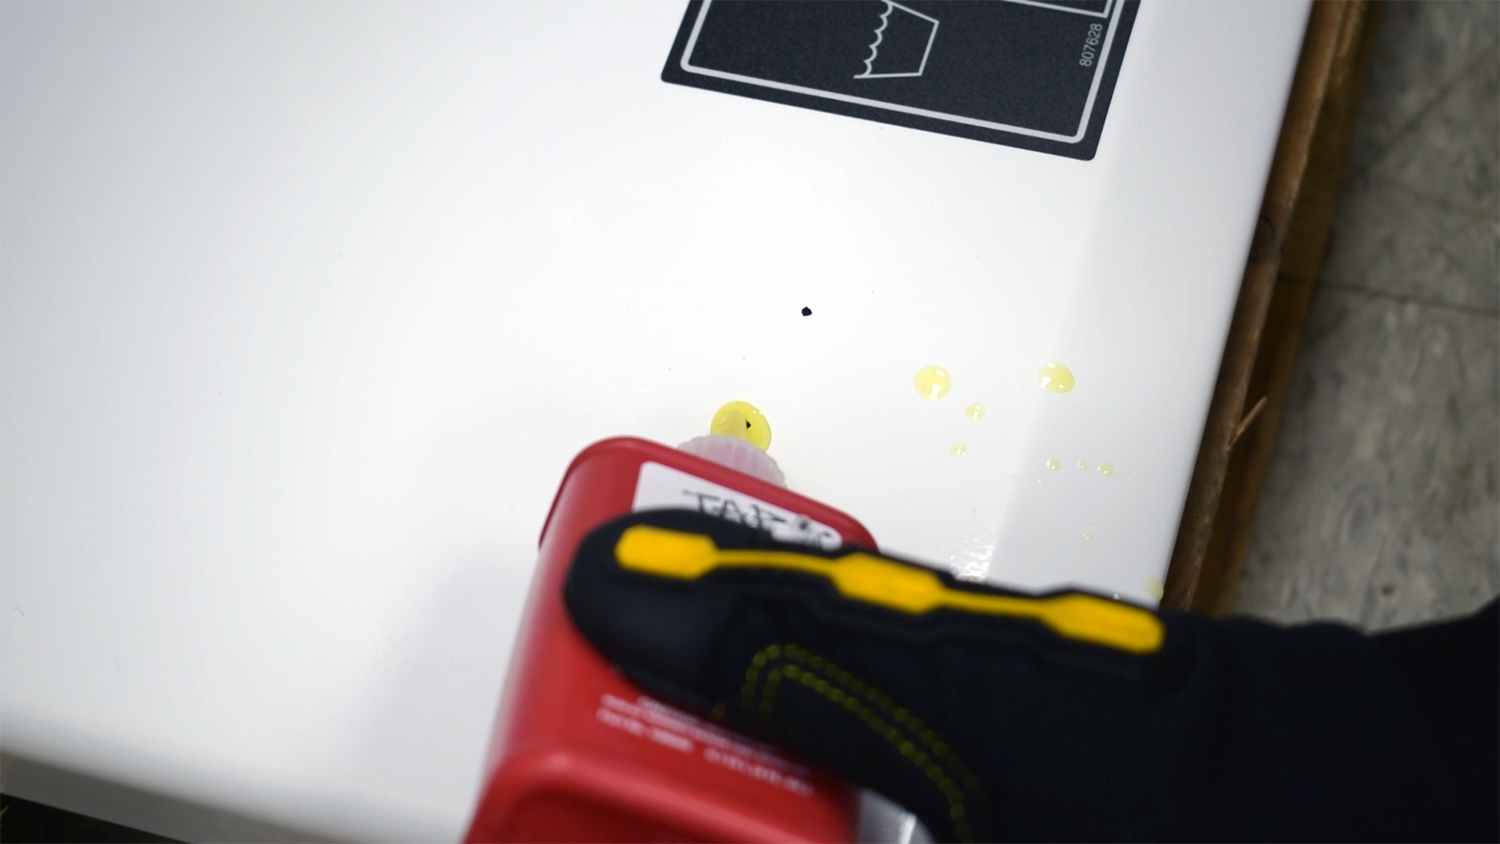
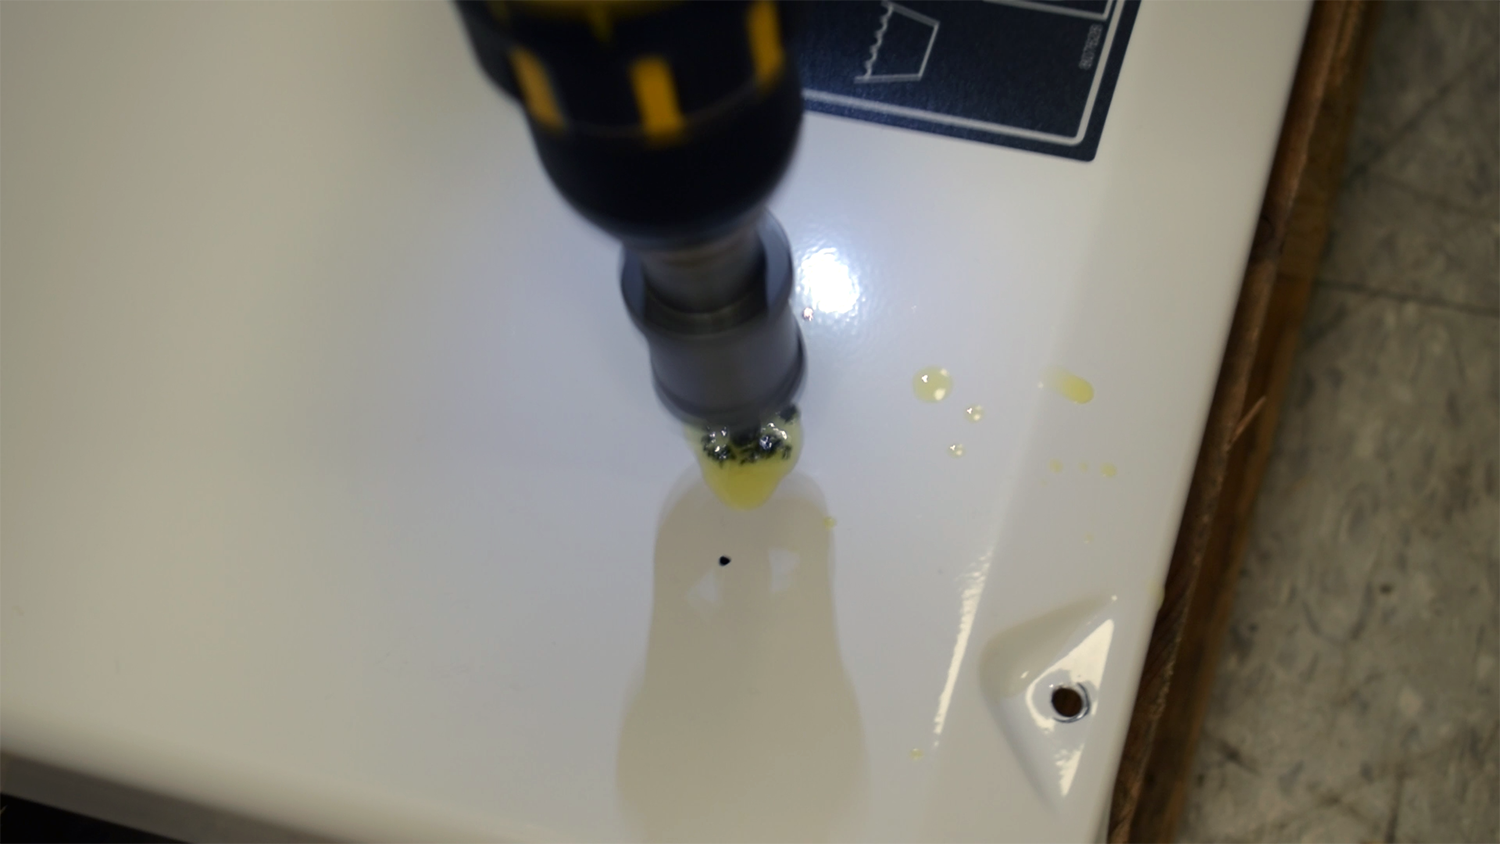
- Whether keeping the chassis/panel intact, exposing, or removing said chassis/panel, apply some cutting oil where drilling through metal will take place.
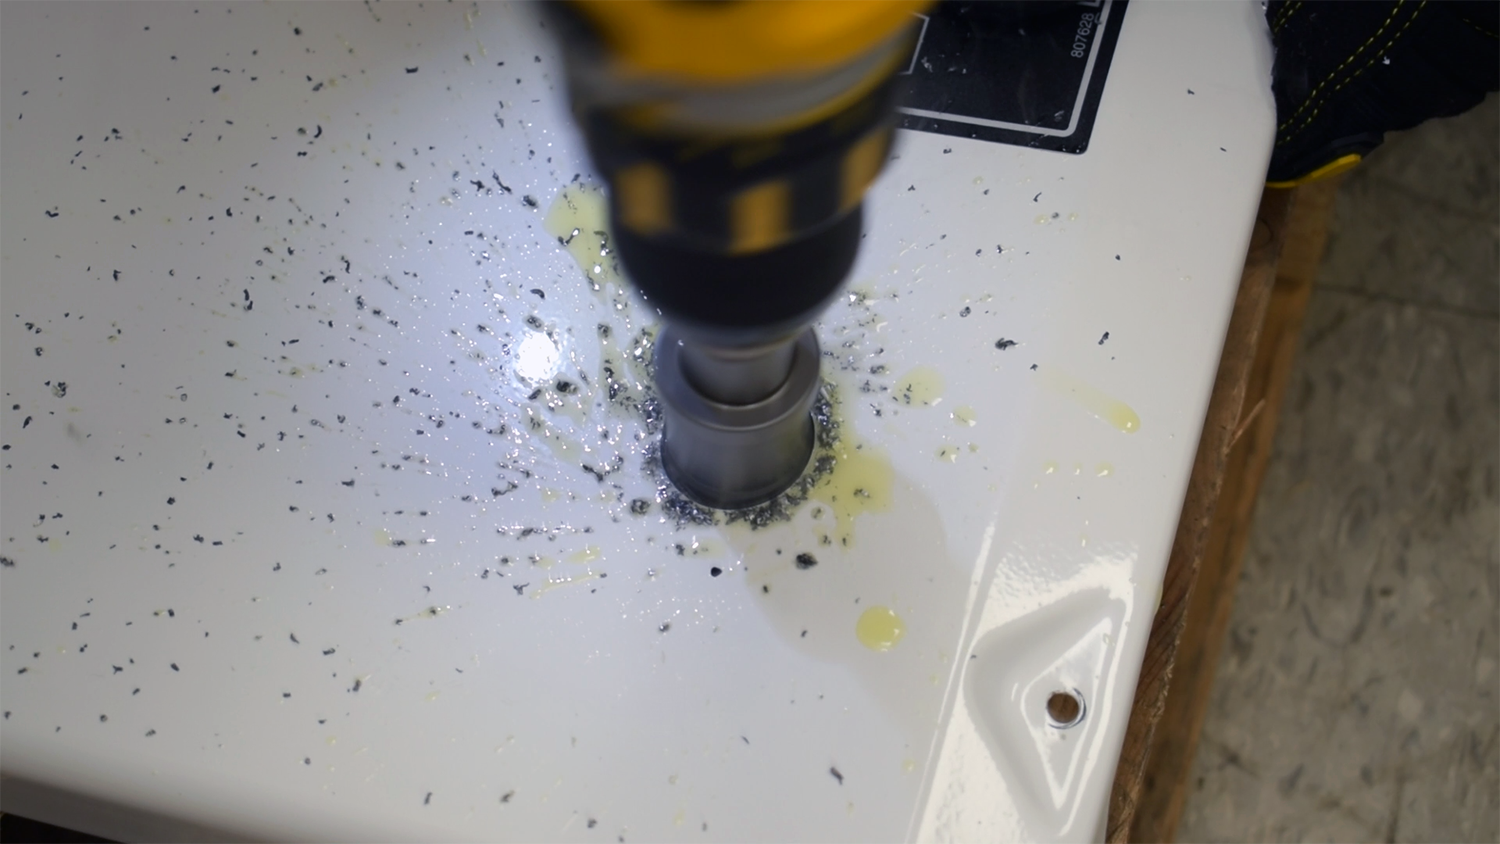
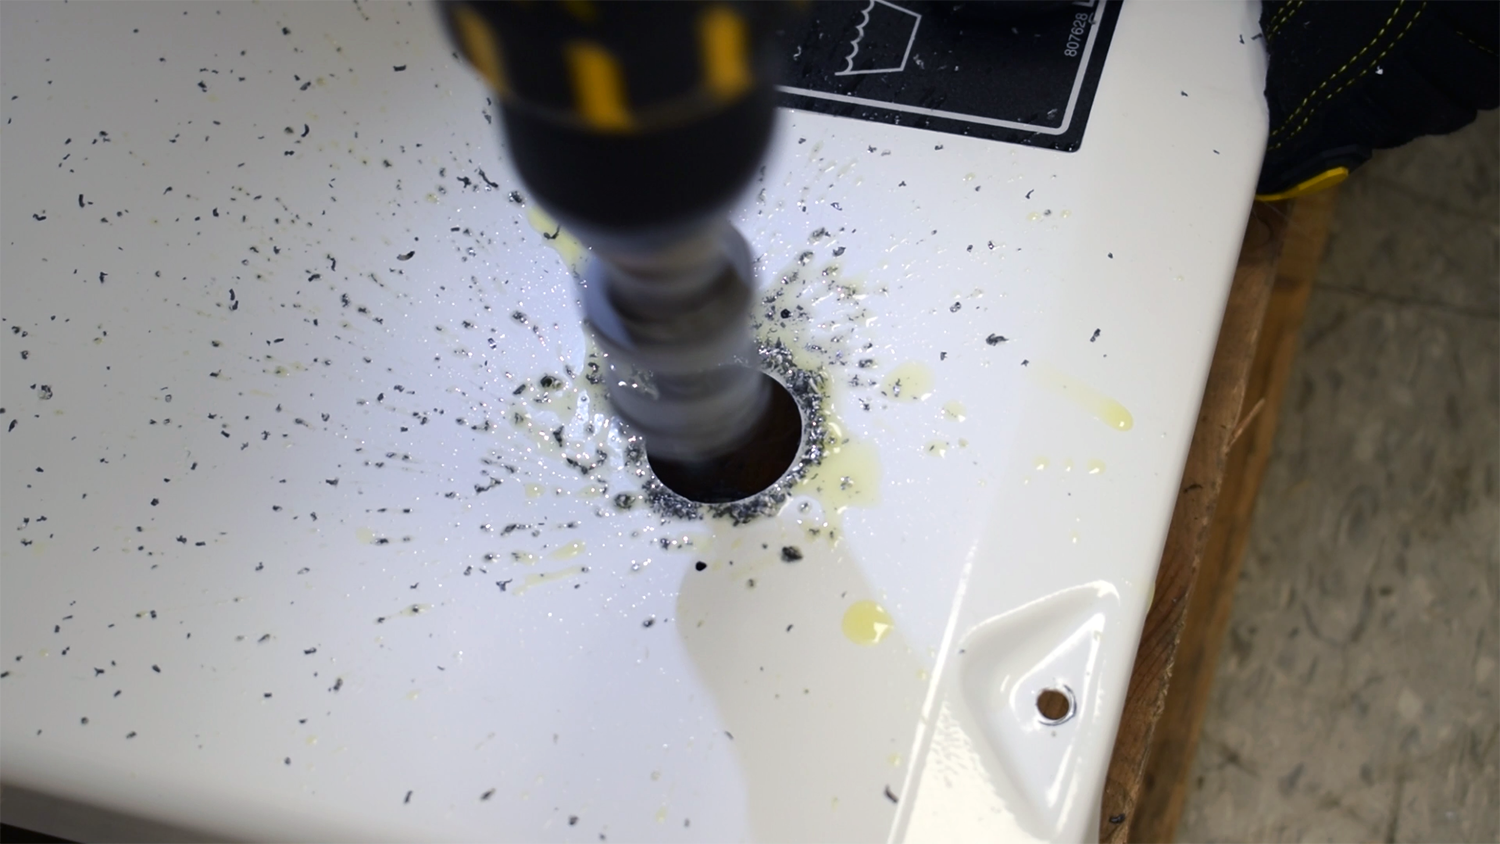
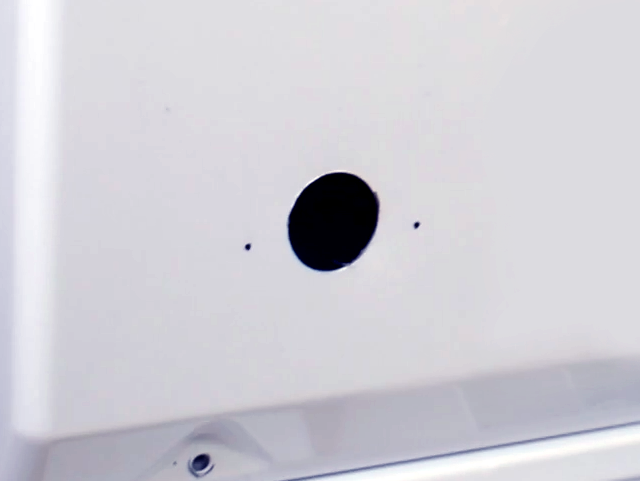
Drill the oiled section in question carefully using the tungsten carbide tipped hole cutter.
- With the drilled hole prepped, you are now ready to mount the reader.


