C-6204 ACA Power Harness Installation Guide
Disconnect any electrical device from power before performing any work on the device. It is recommended that the instructions contained herein be performed by individuals who are qualified to perform these tasks. Card Concepts Inc. takes no responsibility for the accuracy of this document or any damage that may occur to target equipment. Technical Support recommends using all appropriate safety equipment (such as hand and eye protection) during execution of the instructions below.
Some images used in this document may not match the machine being described and are used for instructional purposes. For additional assistance, please contact CCI Technical Support.Notice
Required parts
| Part ID | Description | Image |
|---|---|---|
| C-5001 | F1 FasCard Reader Front/Top Mount Coins, Credit/Debit, Loyalty | |
| C-5401 | *** DO NOT ORDER *** F2 FasCard Reader Coins, Credit/Debit, Loyalty | |
| C-6204 | Power Adapter Harness F2 12vDC Power Harness Alliance ACA |
Step-by-step guide
Electrical warning
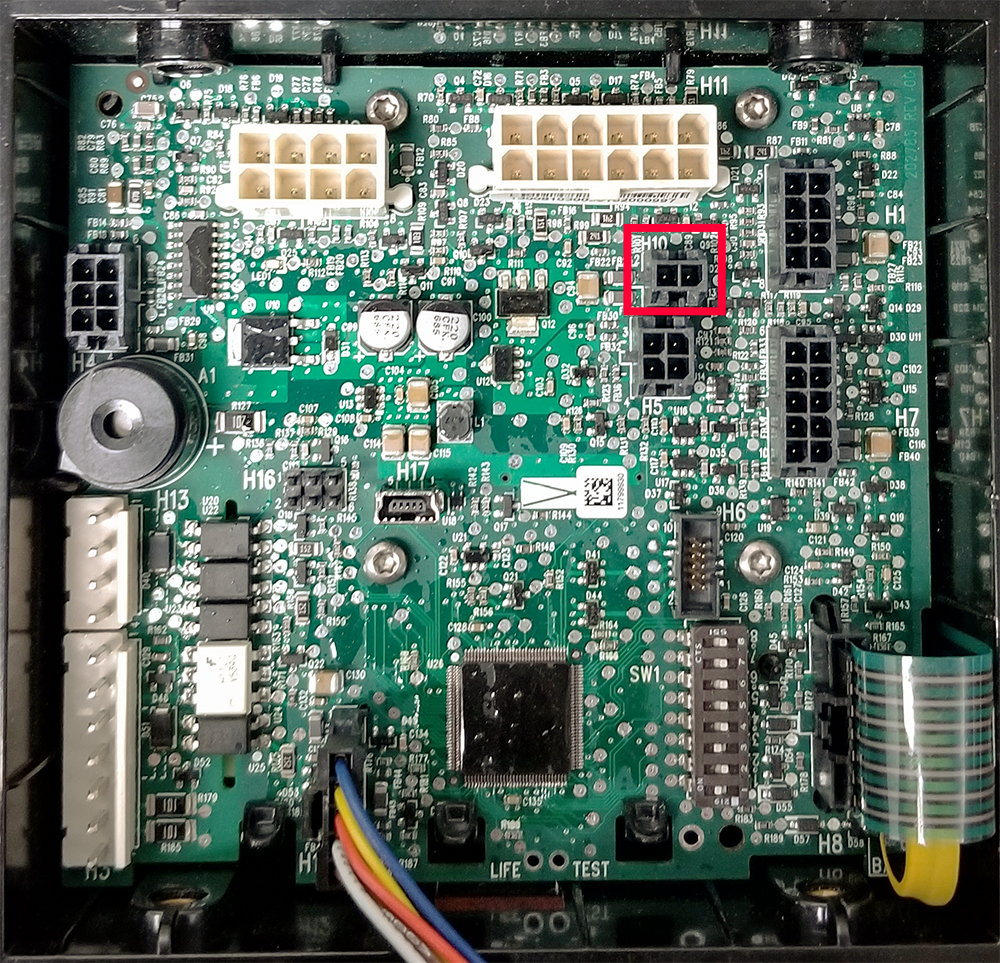
This harness is designed only to be used with the 12vDC accessory connections (H10) found on Alliance ACA control boards. Do not connect to any other connections, or modify harness to connect to an alternate power source.
- Locate the H10 connection on the ACA control board.
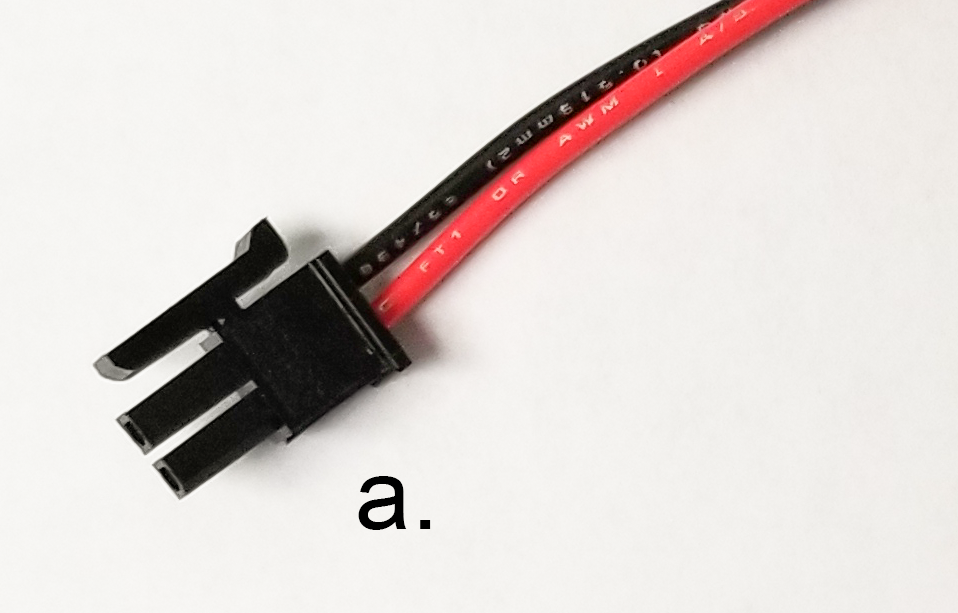
- Plug in the (a.) 12vDC Harness Connector into the H10 connection.
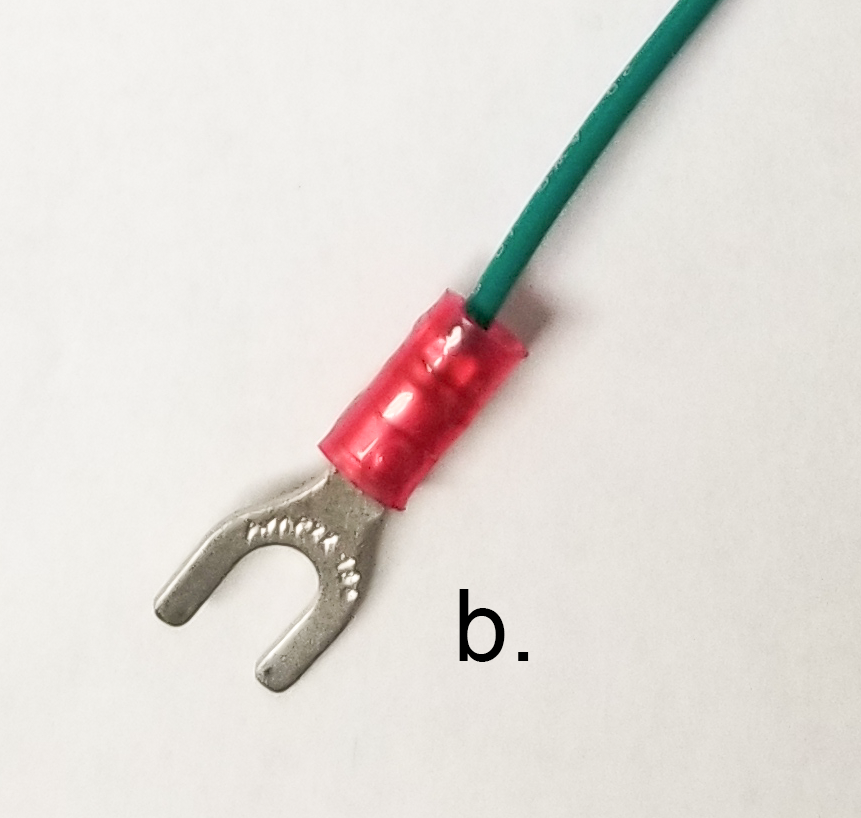
- Locate a nearby Chassis Ground Screw. Connect the (b.) Ground Harness Connector to the Chassis Ground Screw.
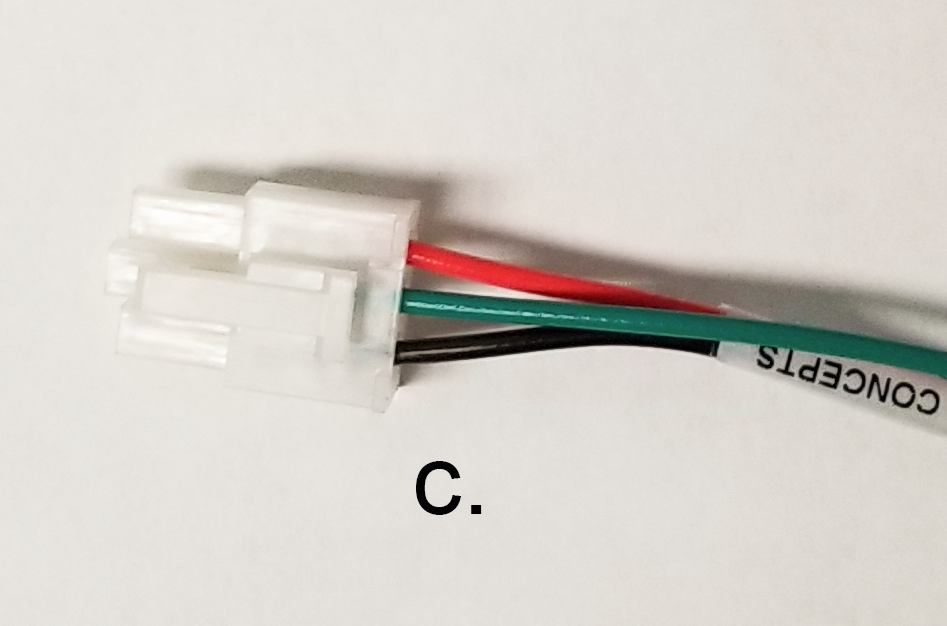
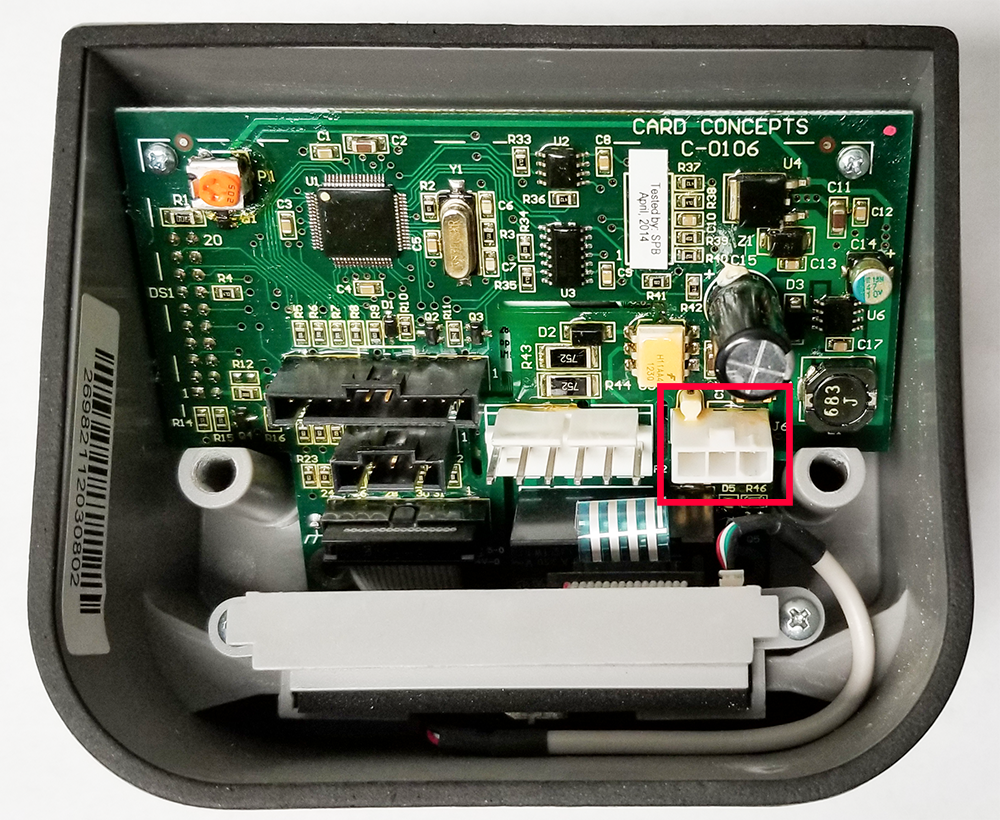
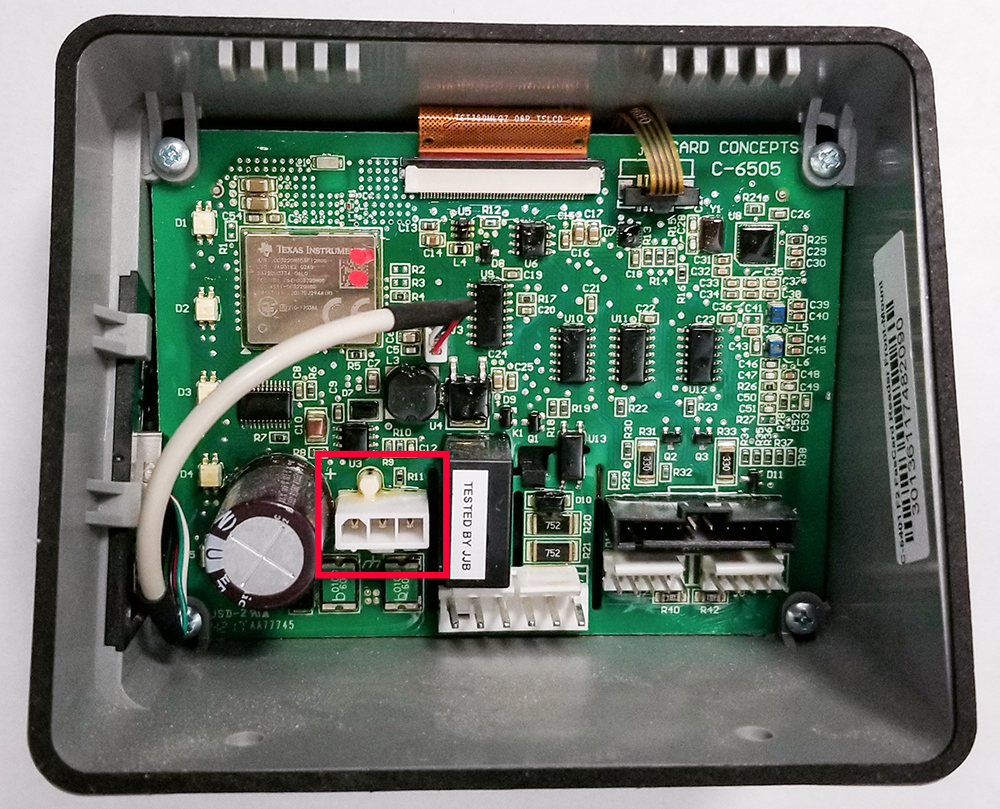
Run the (c.) FasCard Power Connector to the FasCard reader mount.
Routing the harness
This may differ between ACA models. Please be sure to route around any potential components that may damage the harness.- Connect the (c.) FasCard Power Connector to the Power Harness Connection Port.
Related documentation


